How to install a Salt Minion with vRealize Automation 8.6.1
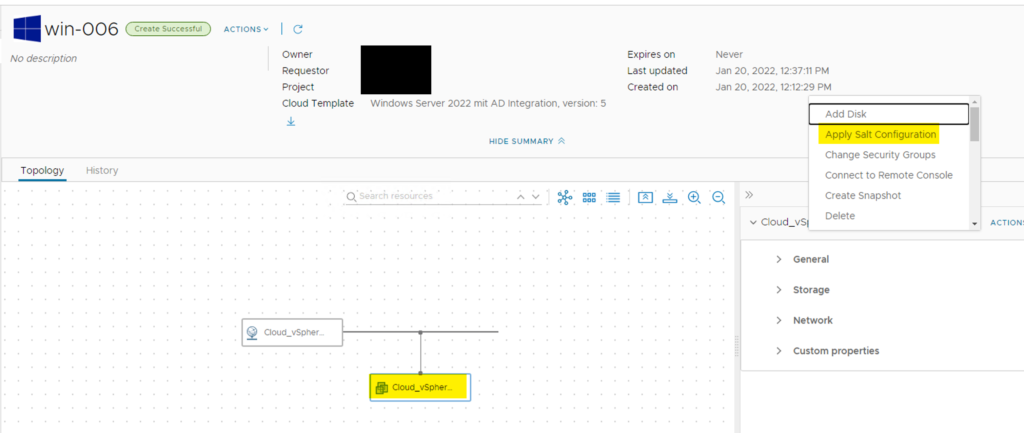
This blog post is about installing a minion on an existing VM provisioned by vRA 8.6.1 using the Day 2 Operation “Apply Salt Configuration”
Prerequisites
Install Salt Minion with vRA 8.6.1
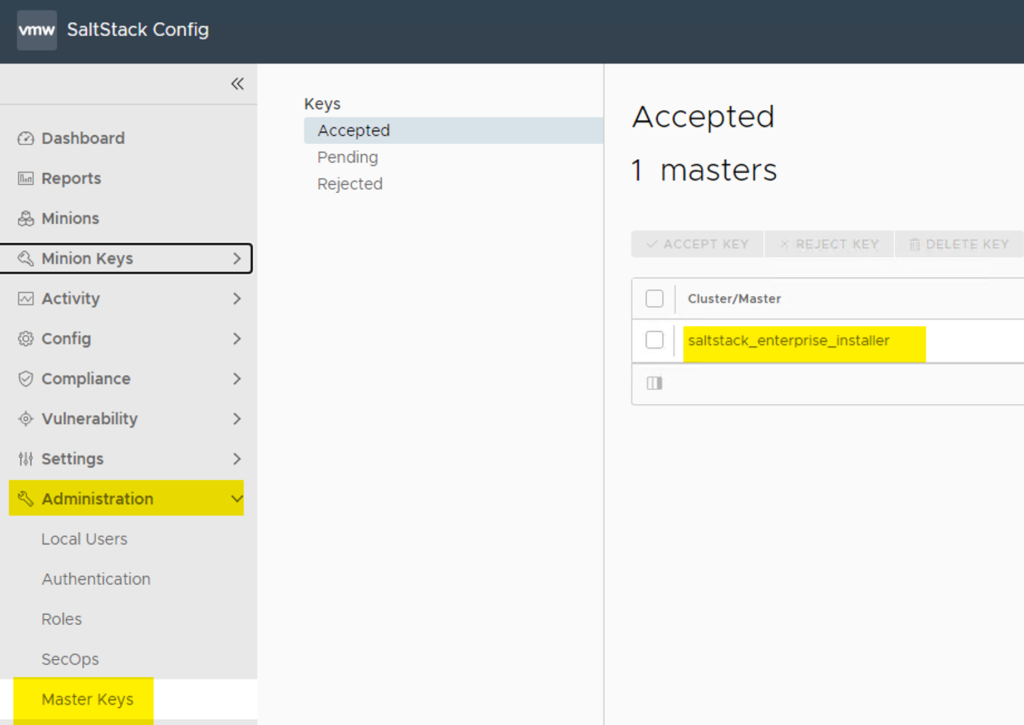
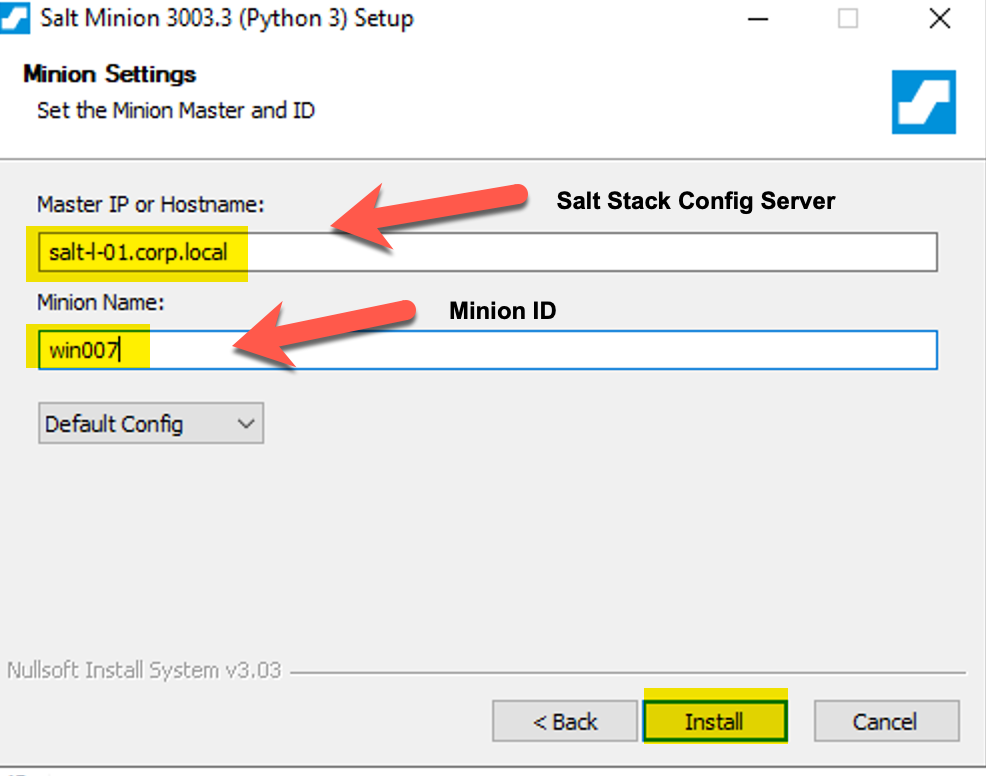
Get the Mast ID
The Minion ID can be named as want. This will be show in the Salt Stack Config as minion ID
If the Minion Installation in vRA successful, then it will be shown in Salt Stack Config and will be accepted automatically if it installed by vRA Day 2 Operation. If it installed manually, then it must be accepted by an Salt Stack Admin.
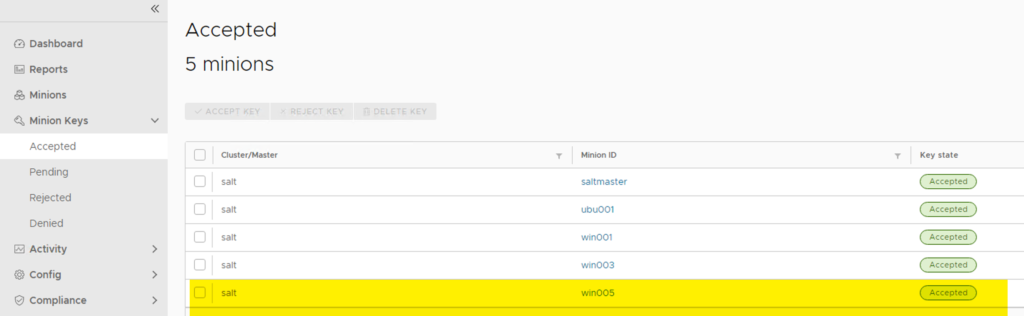
Now, the minion is available to working with.
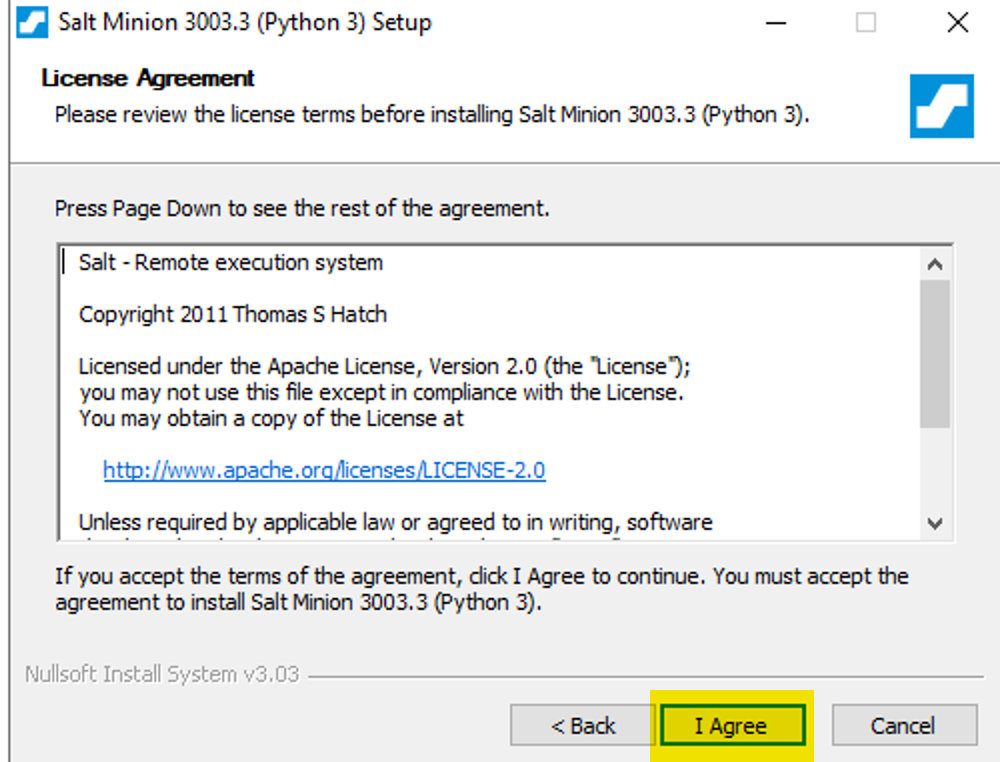
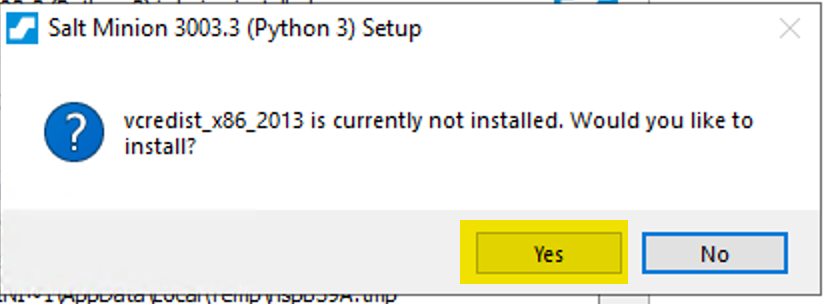
Install Salt Minion on VM (Windows)
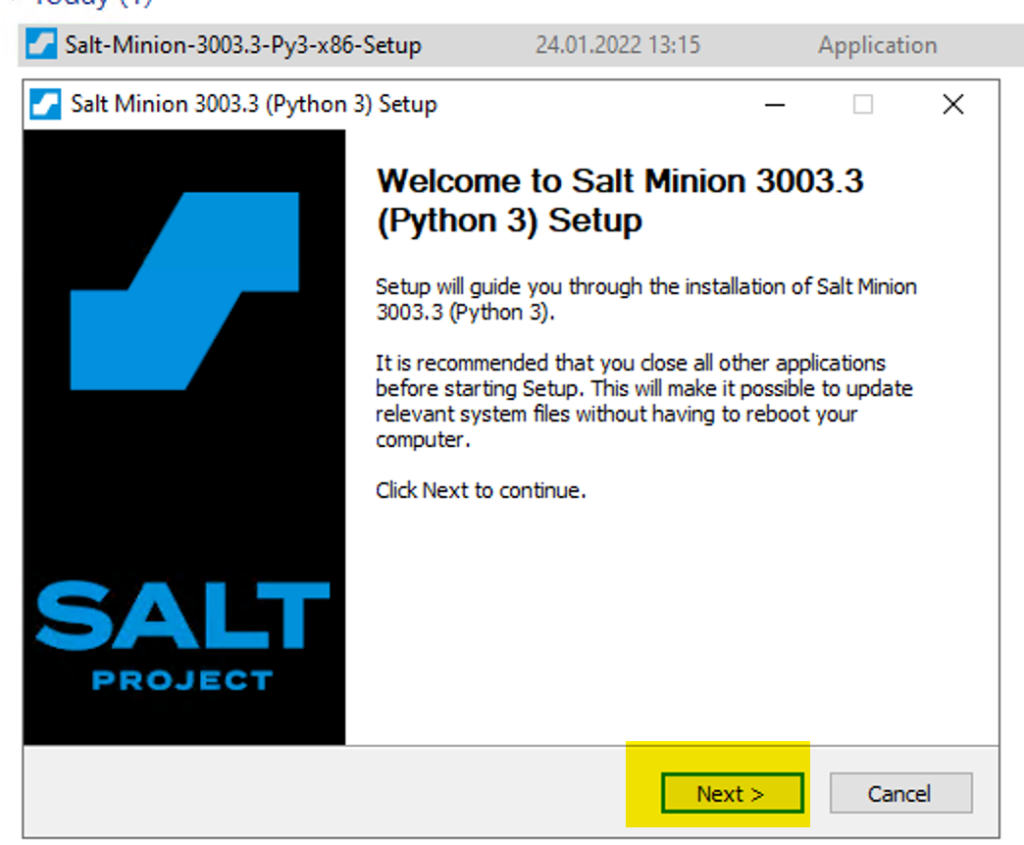
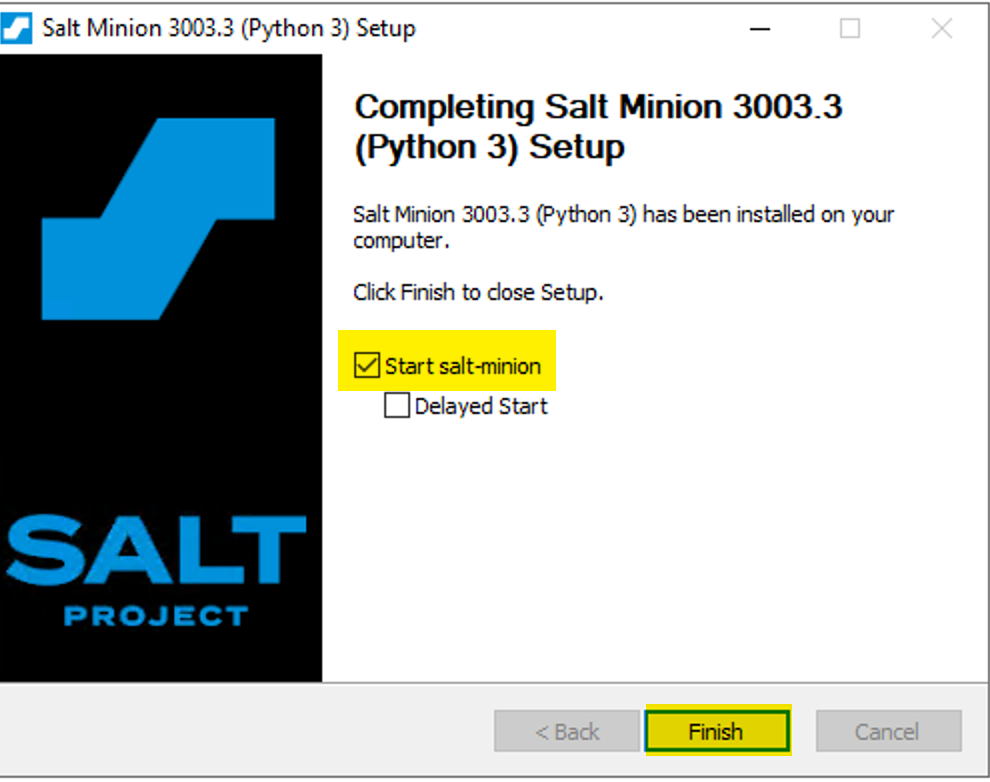
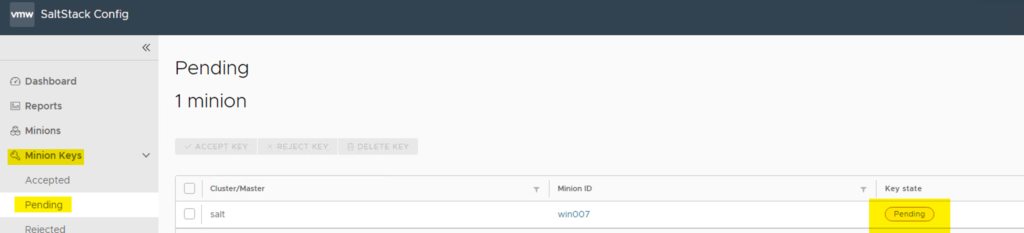
After the minion is installed, the minion should be visible as Pending in Salt Stack.
Select the minion and Accept the Key
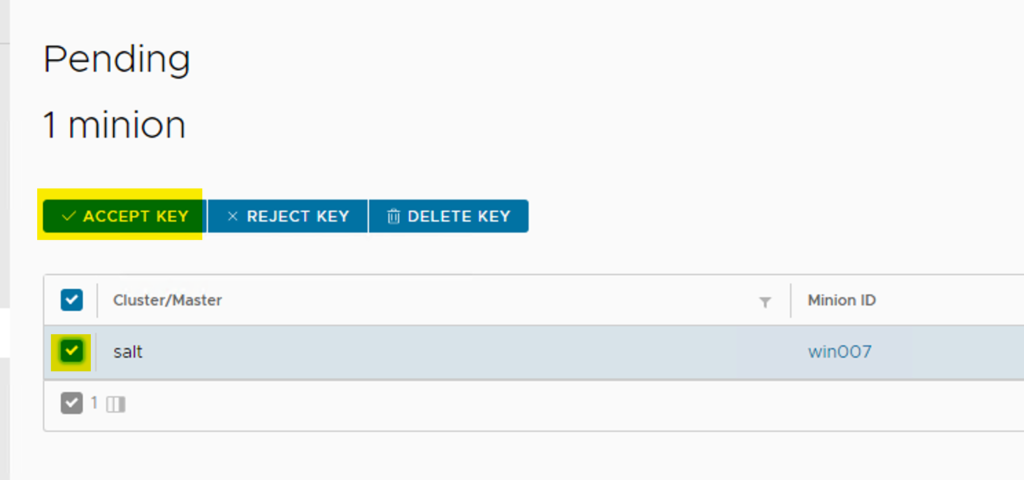
The minion is now ready to work with.