Managing VMware SDDC with Salt Stack Config
In this Blog Post I will show how you can use the VMware SDDC Salt Stack Module. I will explain how to install it. How you create a State & Pillar File, a Salt Master Taget, a Job to create a vSphere Cluster in a existing vCenter Server.
Prerequisites
Basic infomation
Salt Stack VMware Extension Module documentation
In the documentation for the cluster for example are the following command described
// Modulesatext.vmware.modules.cluster
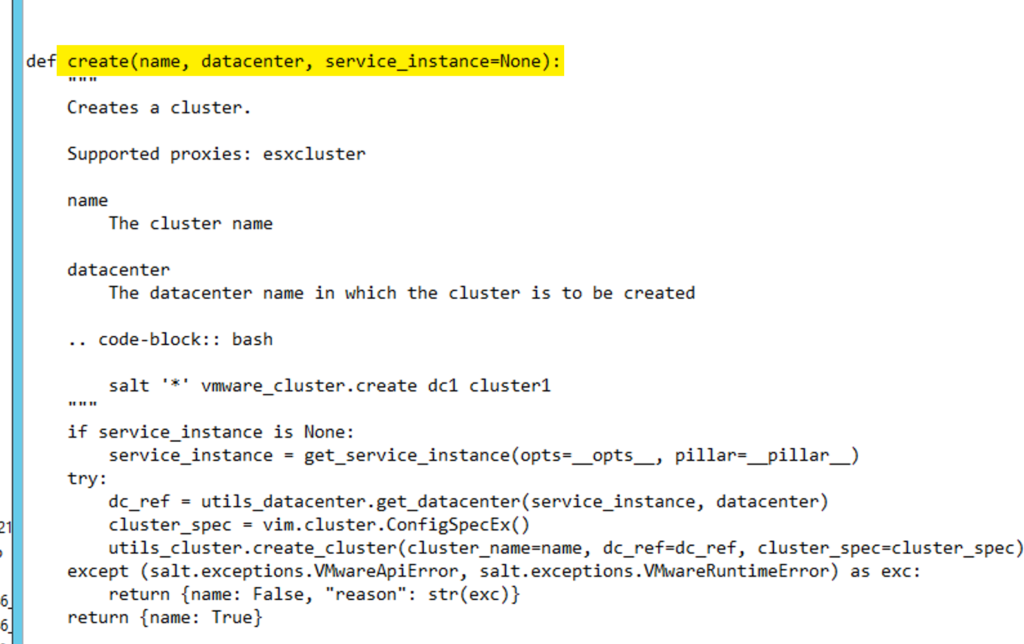
saltext.vmware.modules.cluster.create(name, datacenter, service_instance=None)[source]
// Description
Creates a cluster.
Supported proxies: esxcluster
// Attributes
name
The cluster name
datacenter
The datacenter name in which the cluster is to be created
// example command on Salt Stack Config Server
salt '*' vmware_cluster.create dc1 cluster1In the Salt Stack Config UI sls State file this command looks as follow
...
  module.run:
   - name: vmware_cluster.create
   - m_name: <Clustername>
   - datacenter: <datacentername>
...
The name is the virtualname which is configured in the Module /usr/lib/python3.7/site-packages/vmware/modules/cluster.py stored on the Salt Stack Config Server
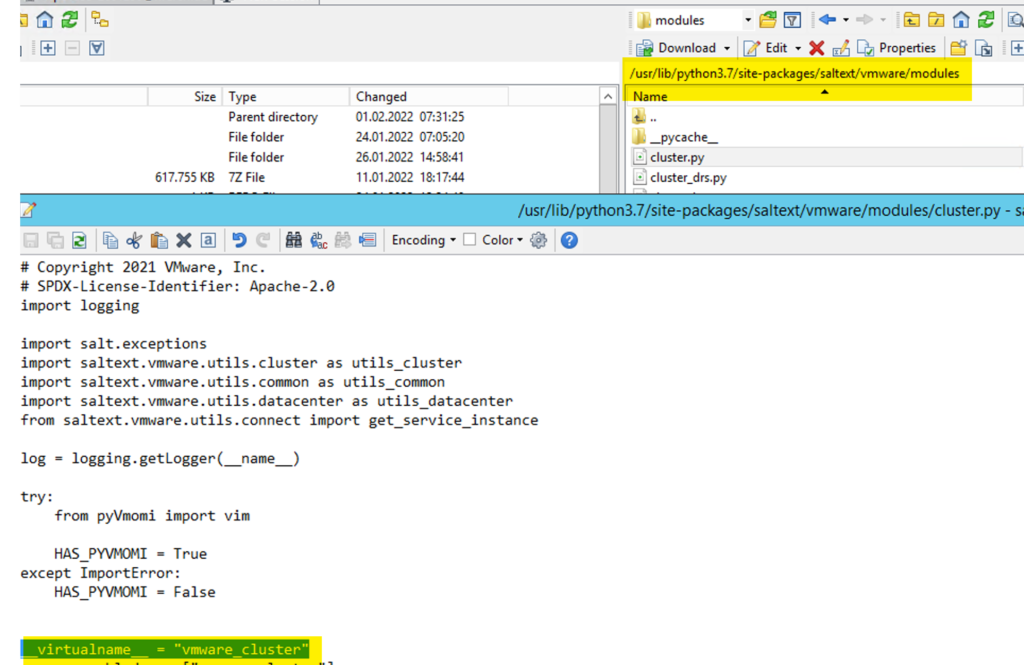
The .create is the function of the vmware_cluster Module
The m_name is a special attribute, because as you see the name attribute is used to define the module and function (vmware_cluster.create). That is the reason why m_name must be used as input for the vmware_cluster.create input. This means m_name gets passed to the execution module as “name”.
Install the SDDC Salt Stack Module
The newest module can be downloaded here.
Install it from Salt Stack Config Server with the command below (internet access is required)
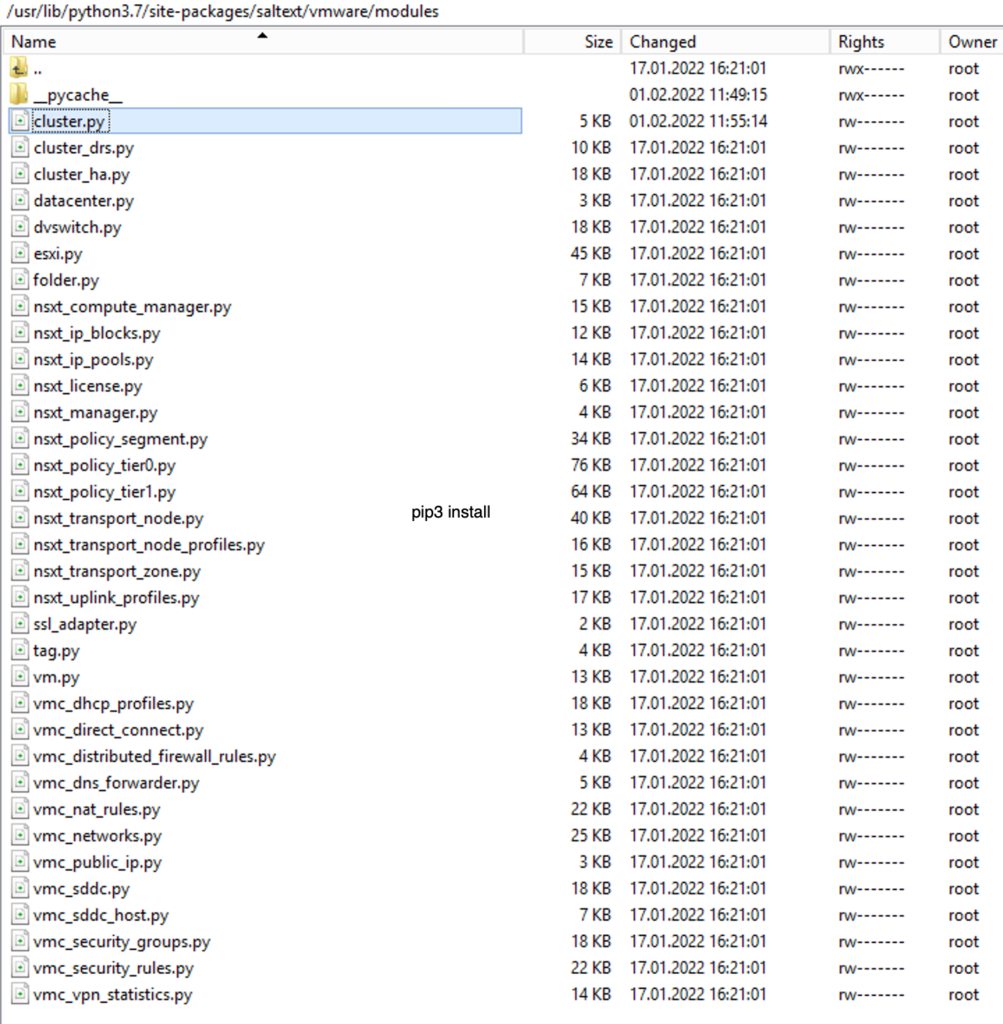
pip3 install saltext.vmware
service salt-master restart
After the module is installed you should find the module content in the path /usr/lib/python3.7/site-packages/saltext/vmware
Run the following command:
sudo vi /etc/salt/minion.d/module_dirs.confAdd the content and save the file. (ctrl + I = Enter Insert mode, , ESC= exit the insert mode, :wq = Save the file)
module_dirs:
  - /usr/lib/python3.7/site-packages/saltext/vmware
Restart the minion service:
service salt-minion restartSalt Stack Config UI configuration
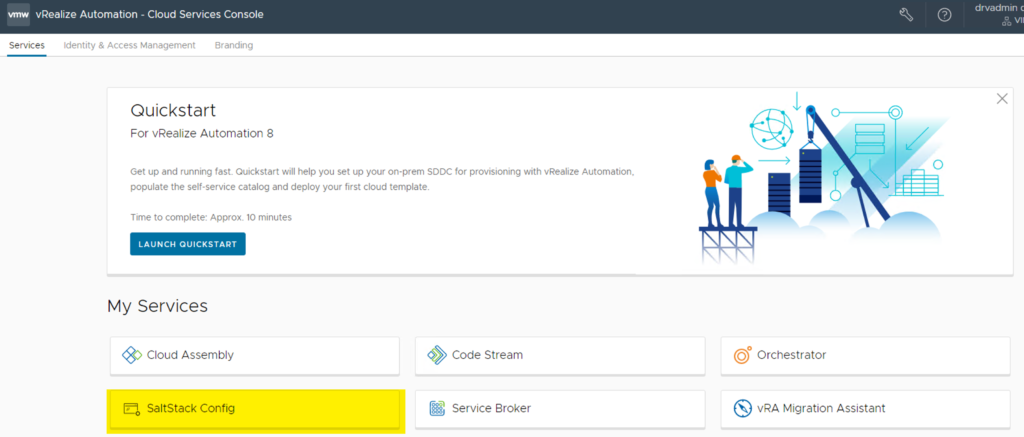
Log into vRA 8 Service Portal and open the SaltStack Config Service
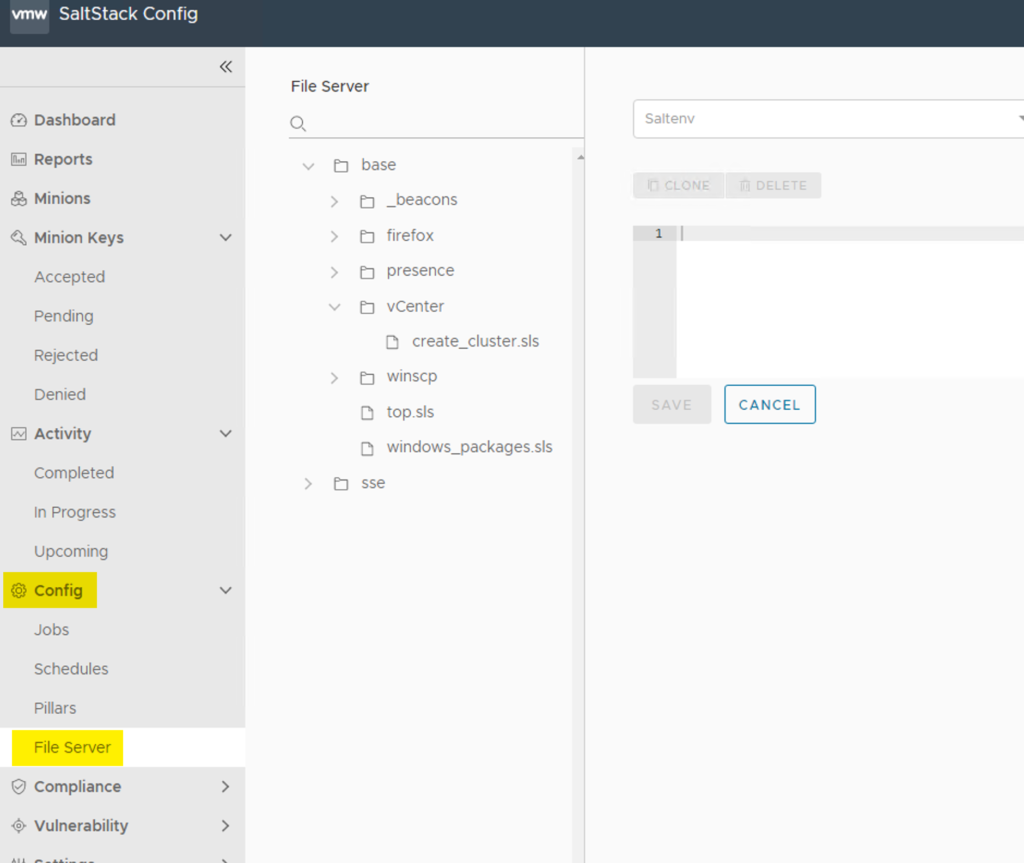
Log into Salt Stack Config and navigate to Config -> File Server
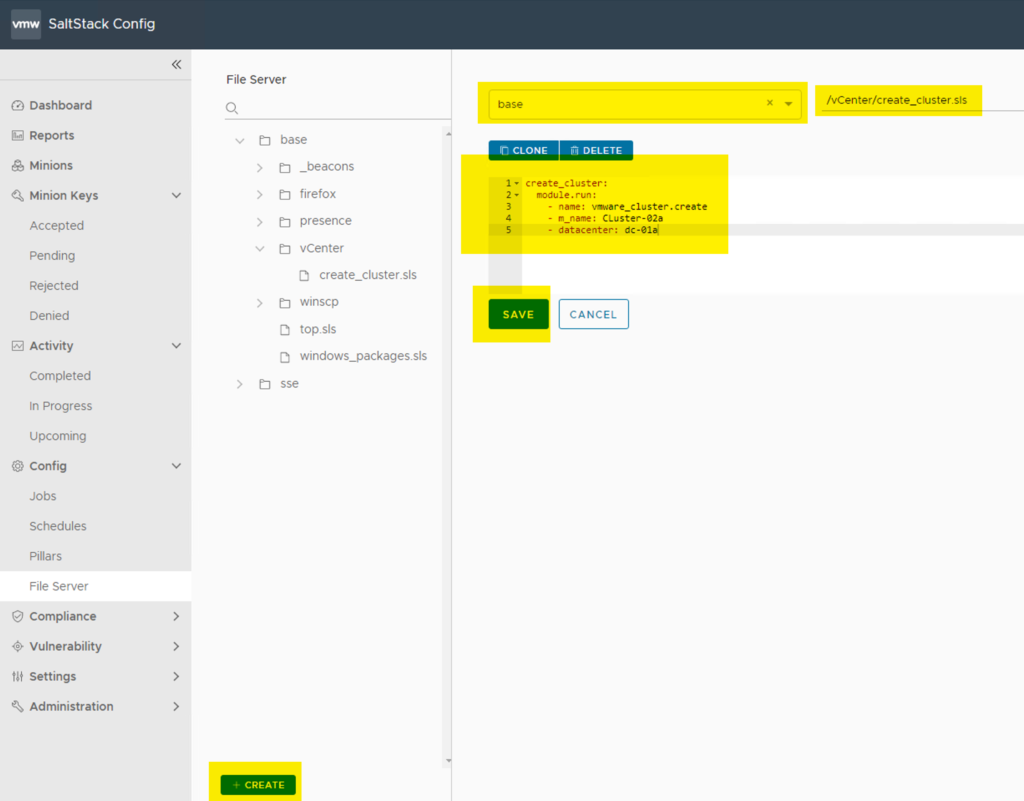
create_cluster:
  module.run:
    - name: vmware_cluster.create
    - m_name: <Clustername>
    - datacenter: <Datacentername>
Create a top.sls file in the “base” root
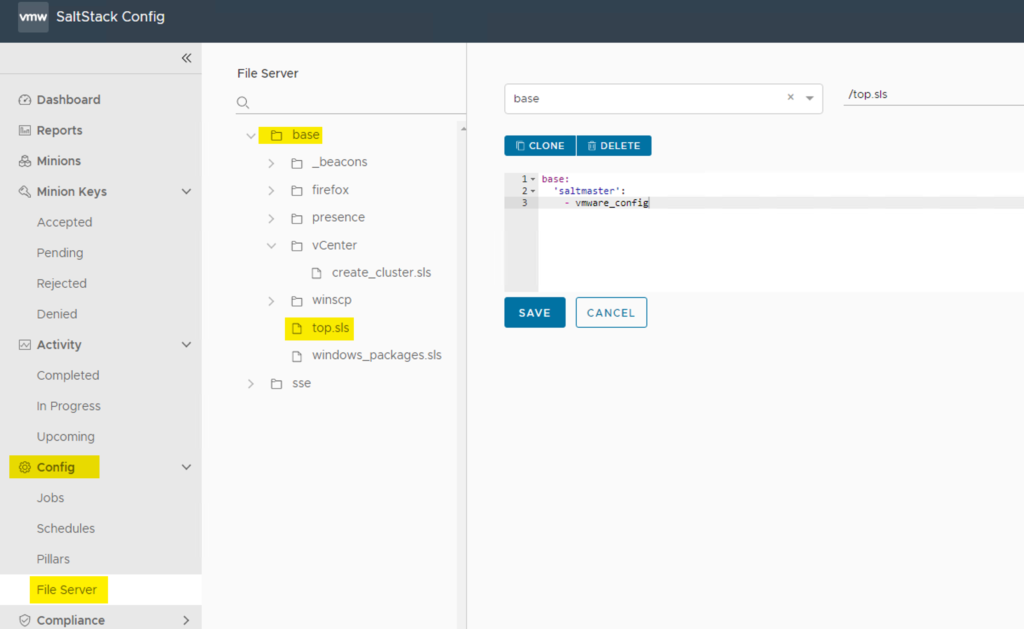
base:
  'saltmaster':
    - vmware_config
base: – Salt Environemnt
‘saltmaster’ is the salt master minion id
vmware_config is the Pillar sls file where the vCEnter Credentials are stored
Create a pillar file
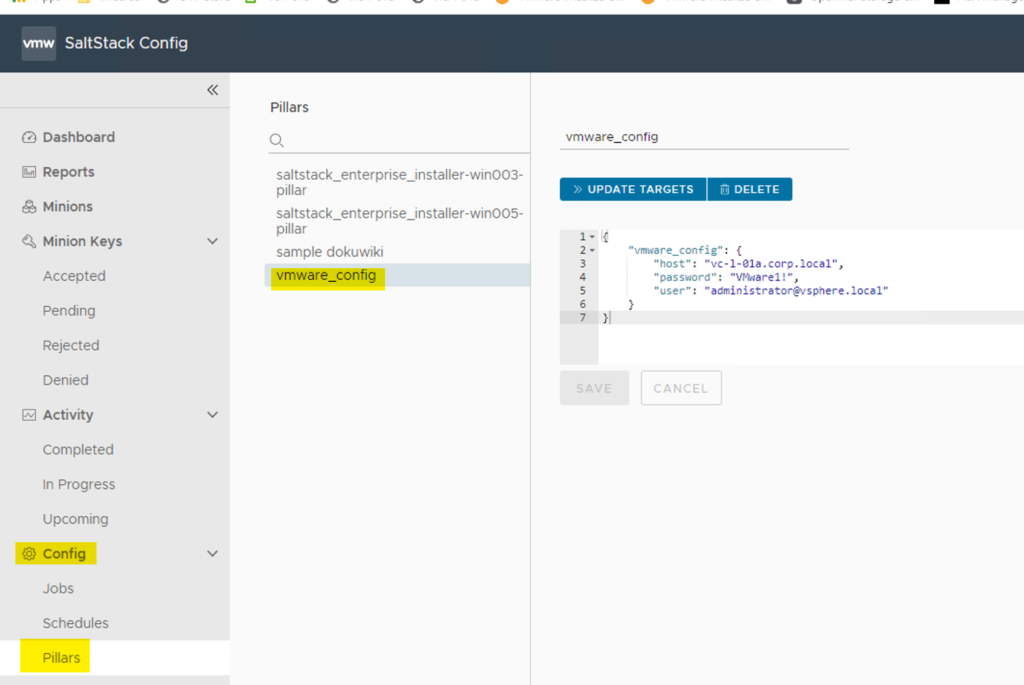
{
"vmware_config: {
"host": "<vCenter FQDN>"
"password": "<vCenter Password>"
"user": "<vCenter user>"
}
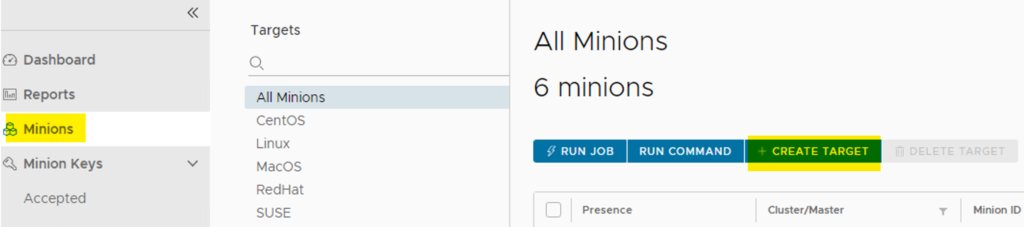
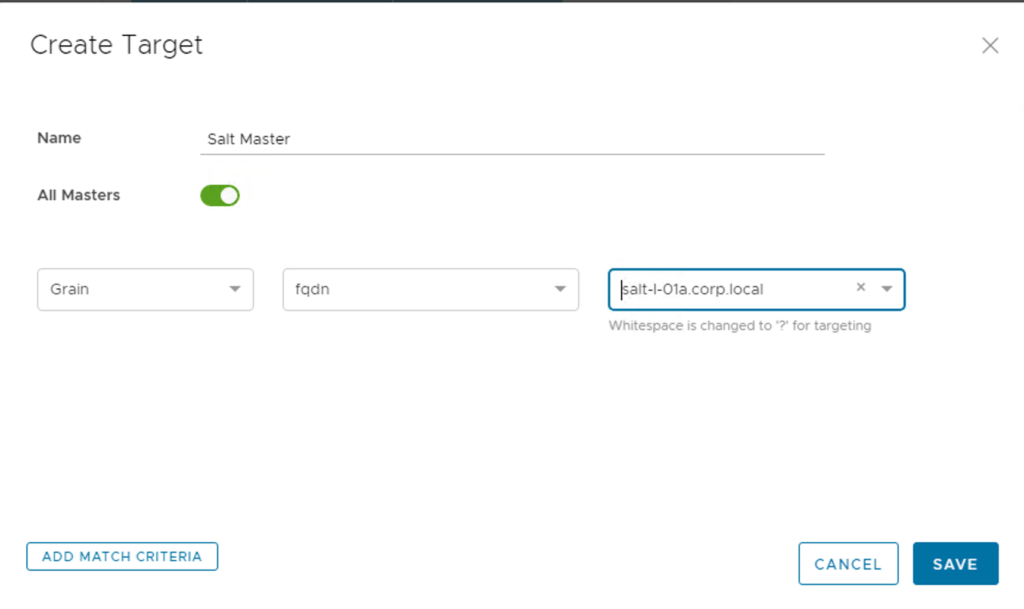
}Create a Target which contains the Salt Master
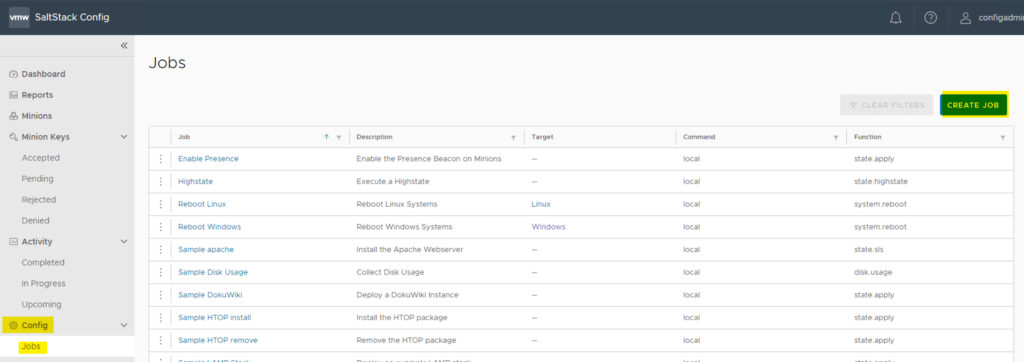
Create a Job for the Cluster State file
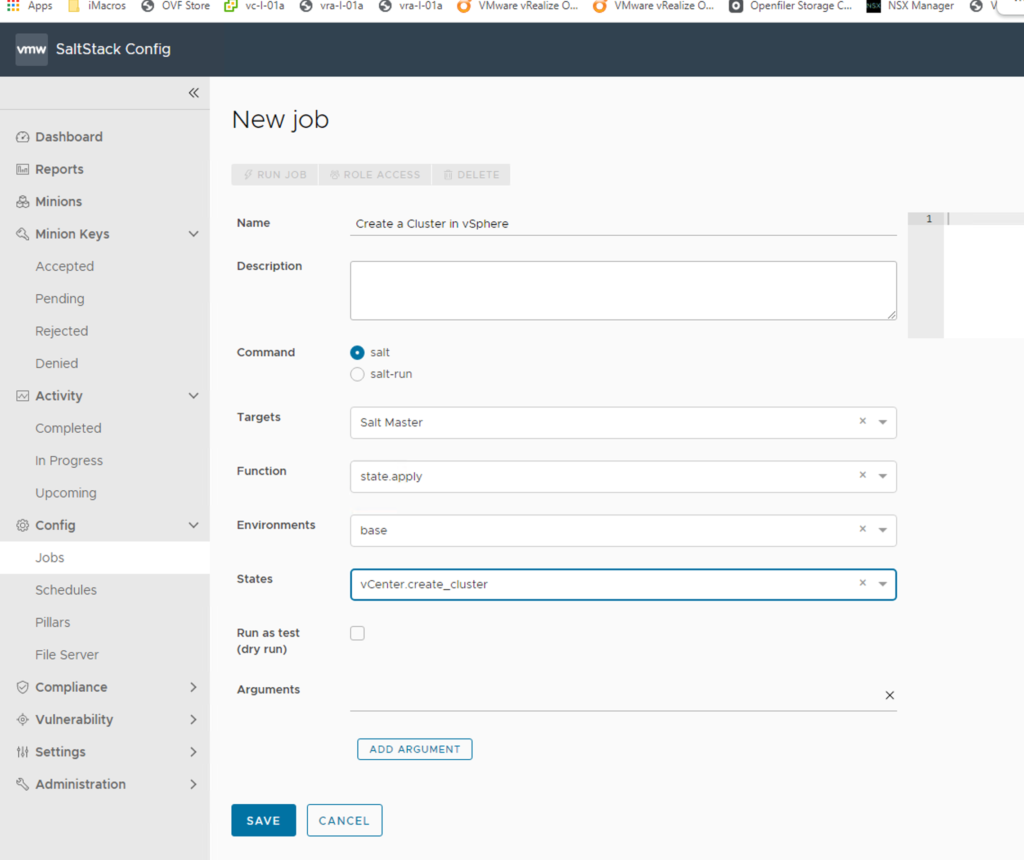
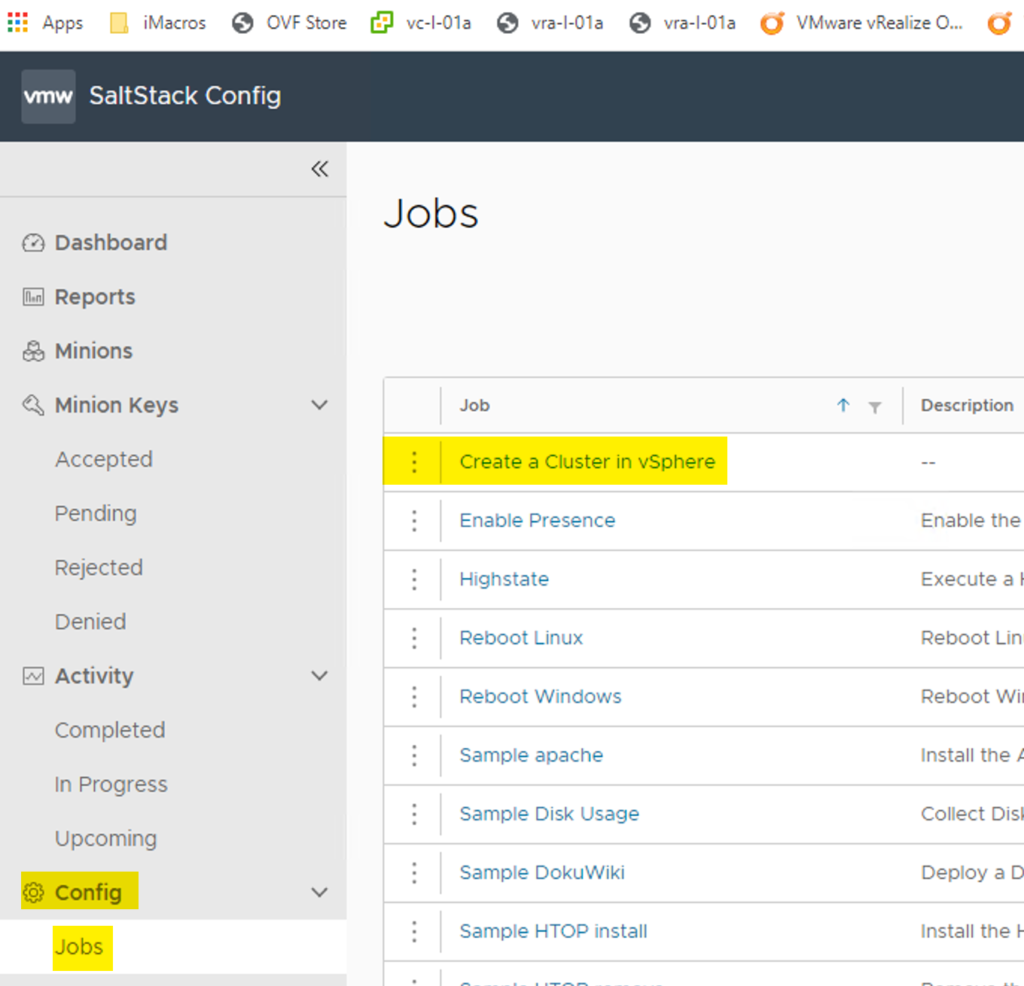
Run the Job “Create a Cluster in vSphere”
Open the Job. Click on the Job Link
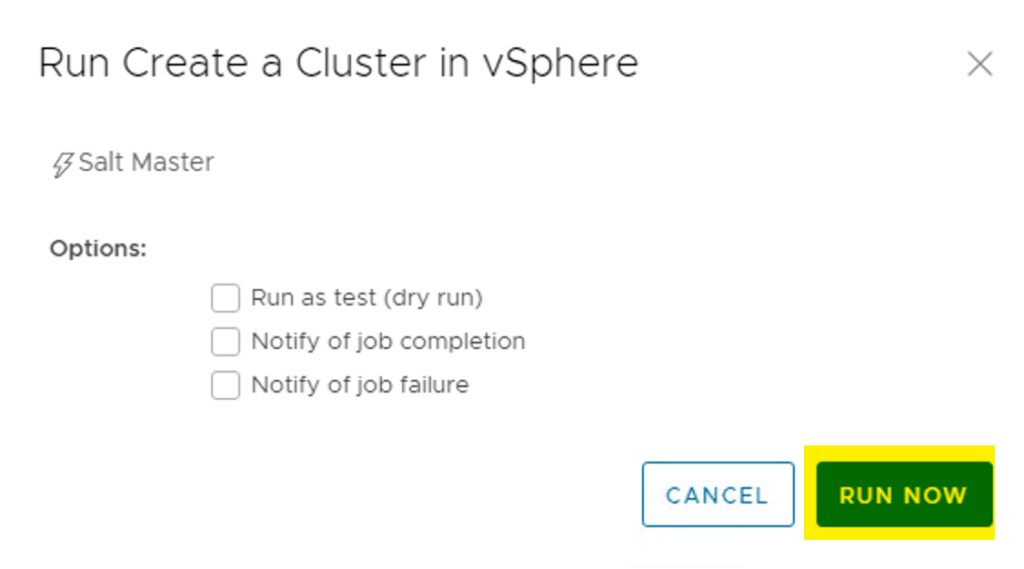
Click on RUN JOB

Click on RUN NOW
Check the JOB Status
Navigate to Activity -> in Progress or to Completed

Click on the JID Link
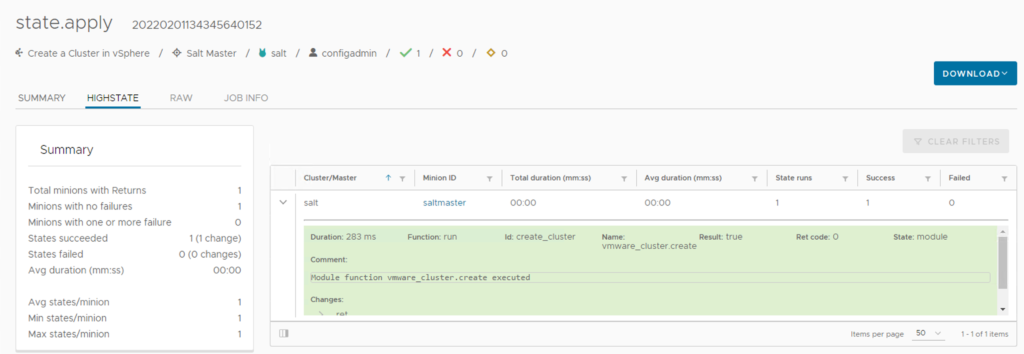
Here you can find the Status of the JOB.
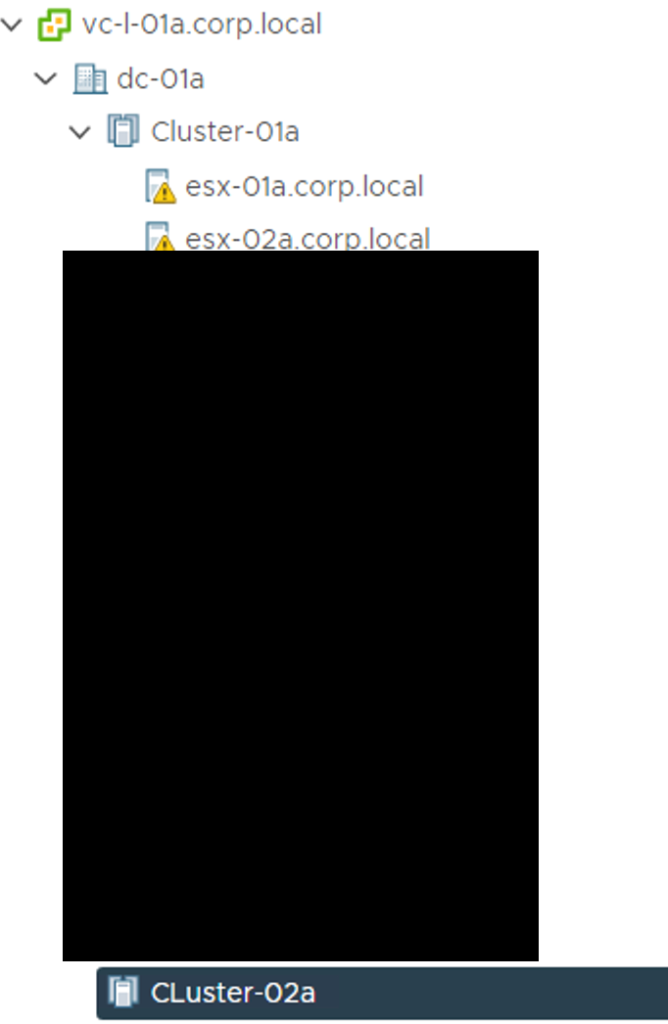
In the vCenter you can see the new created Cluster