vRA 8 Cloud Template with multiple disks and SCSI Controller and Unit Number Selection
In this post I show you how you can deploy a VM with multiple disks. and SCSI Selection
Following steps are needed:
Create Cloud Template
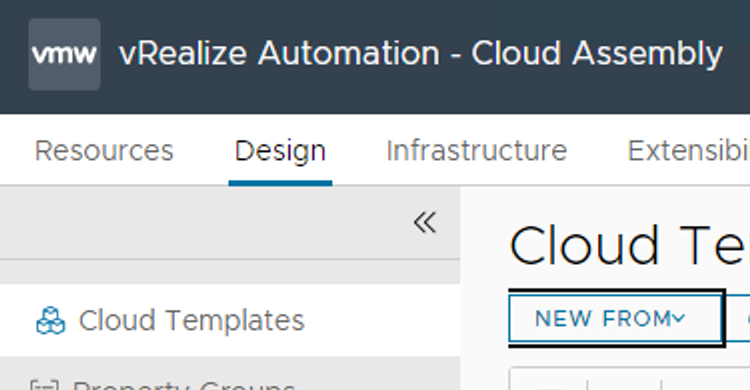
Navigate to Design -> Cloud Templates -> NEW FROM and select blanc canvas
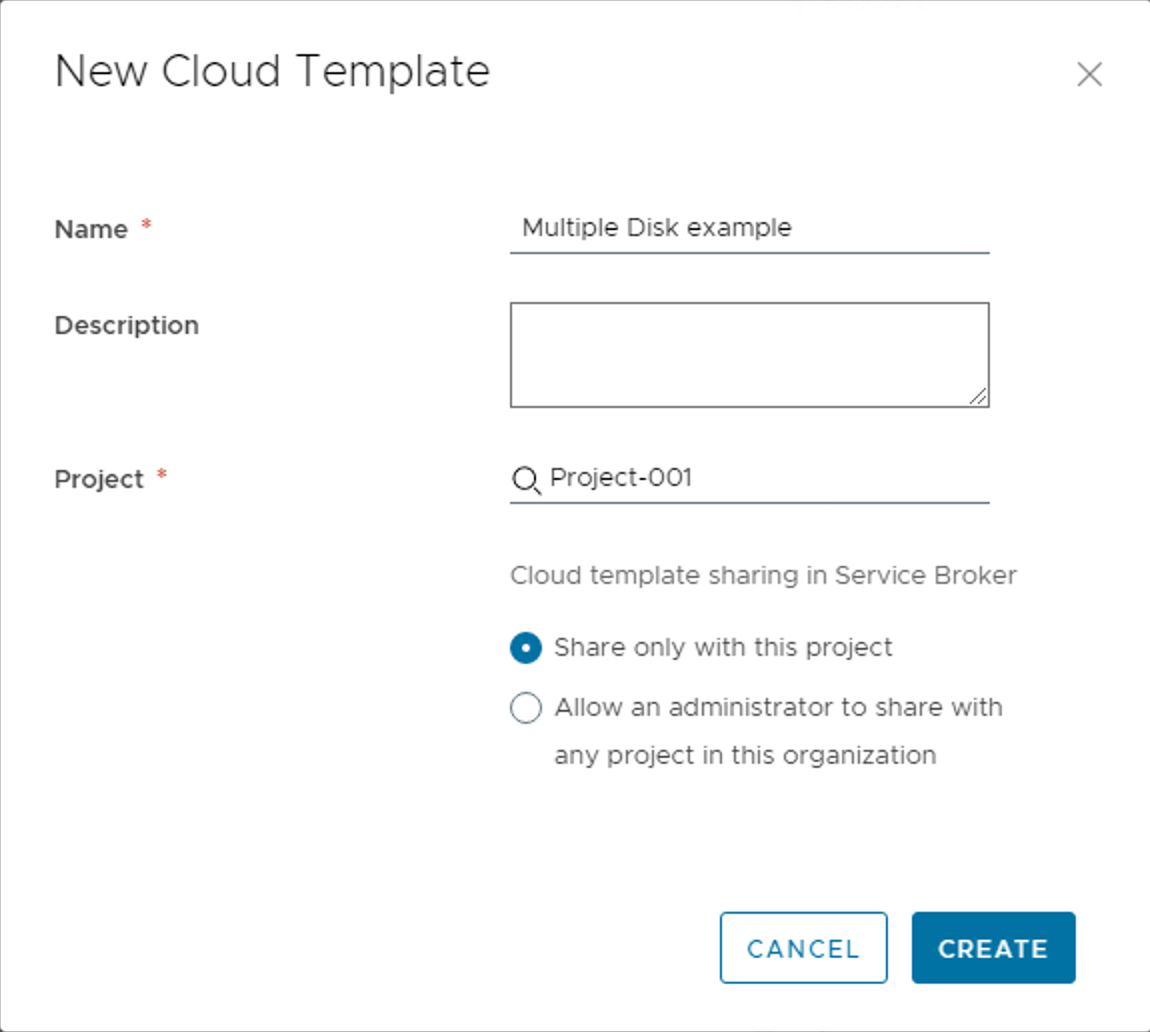
Enter a Name and select a Project and click on CREATE
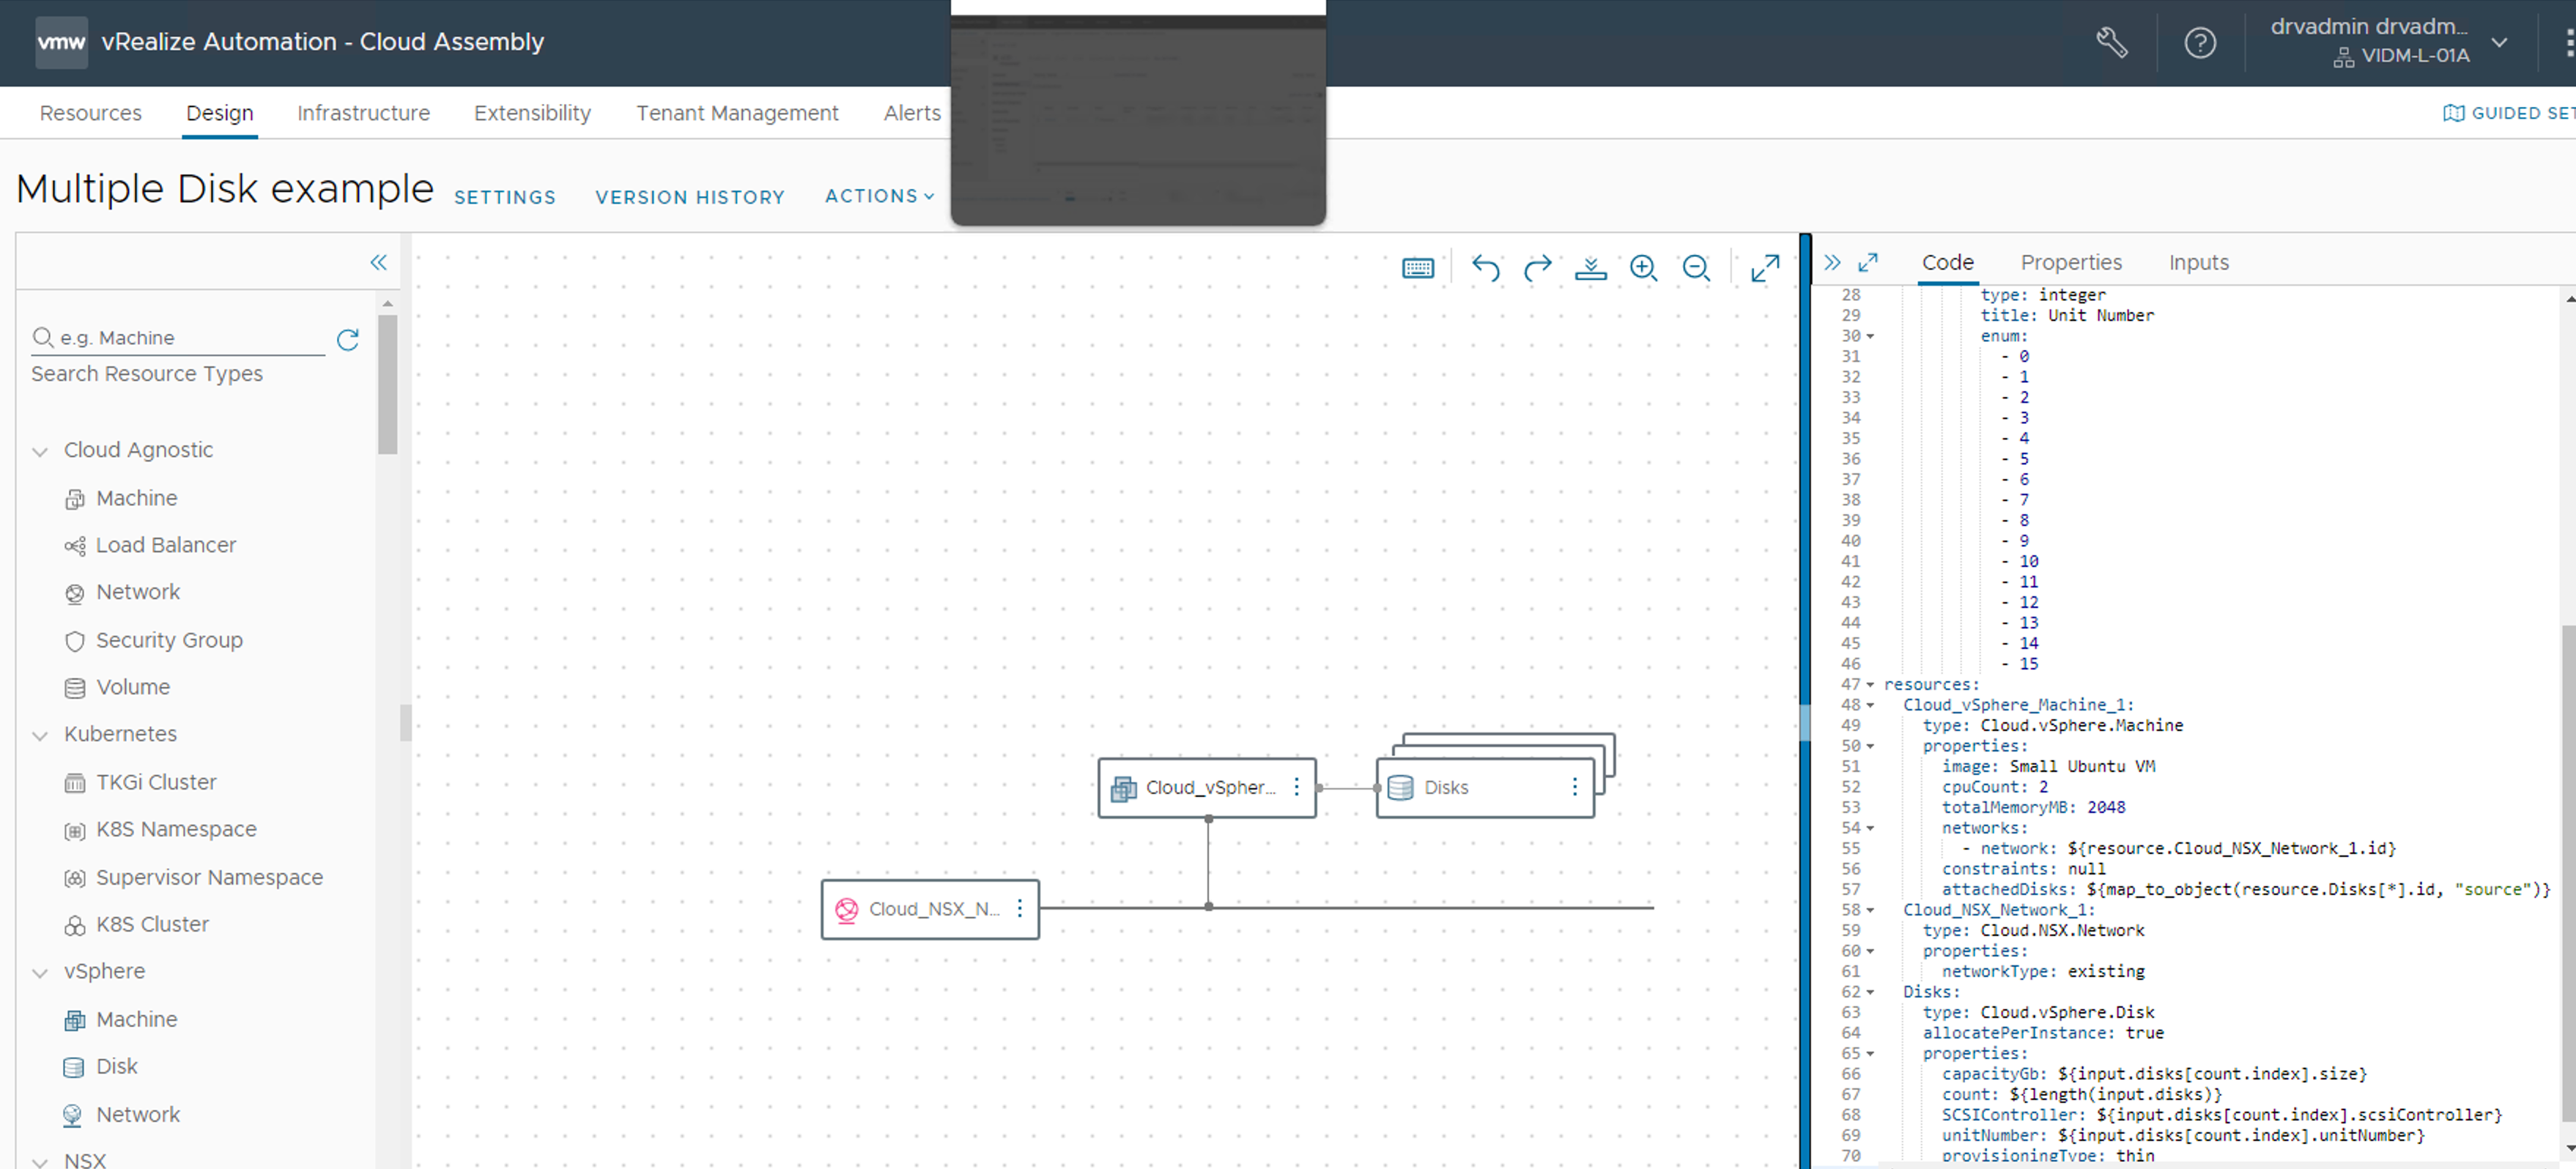
Enter the following Code into YAML Editor
formatVersion: 1
inputs:
  disks:
    type: array
    title: Disks
    maxItems: 10
    minItems: 1
    items:
      type: object
      properties:
        name:
          type: string
          title: Diskname
        size:
          type: integer
          title: Size in GB
          minSize: 1
          maxSize: 100
        scsiController:
          type: string
          title: SCSI Controller
          enum:
            - SCSI_Controller_0
            - SCSI_Controller_1
            - SCSI_Controller_2
            - SCSI_Controller_3
        unitNumber:
          type: integer
          title: Unit Number
          enum:
            - 0
            - 1
            - 2
            - 3
            - 4
            - 5
            - 6
            - 7
            - 8
            - 9
            - 10
            - 11
            - 12
            - 13
            - 14
            - 15
resources:
  Cloud_vSphere_Machine_1:
    type: Cloud.vSphere.Machine
    properties:
      image: Small Ubuntu VM
      cpuCount: 2
      totalMemoryMB: 2048
      networks:
        - network: ${resource.Cloud_NSX_Network_1.id}
      constraints: null
      attachedDisks: ${map_to_object(resource.Disks[*].id, "source")}
  Cloud_NSX_Network_1:
    type: Cloud.NSX.Network
    properties:
      networkType: existing
  Disks:
    type: Cloud.vSphere.Disk
    allocatePerInstance: true
    properties:
      capacityGb: ${input.disks[count.index].size}
      count: ${length(input.disks)}
      SCSIController: ${input.disks[count.index].scsiController}
      unitNumber: ${input.disks[count.index].unitNumber}
      provisioningType: thin
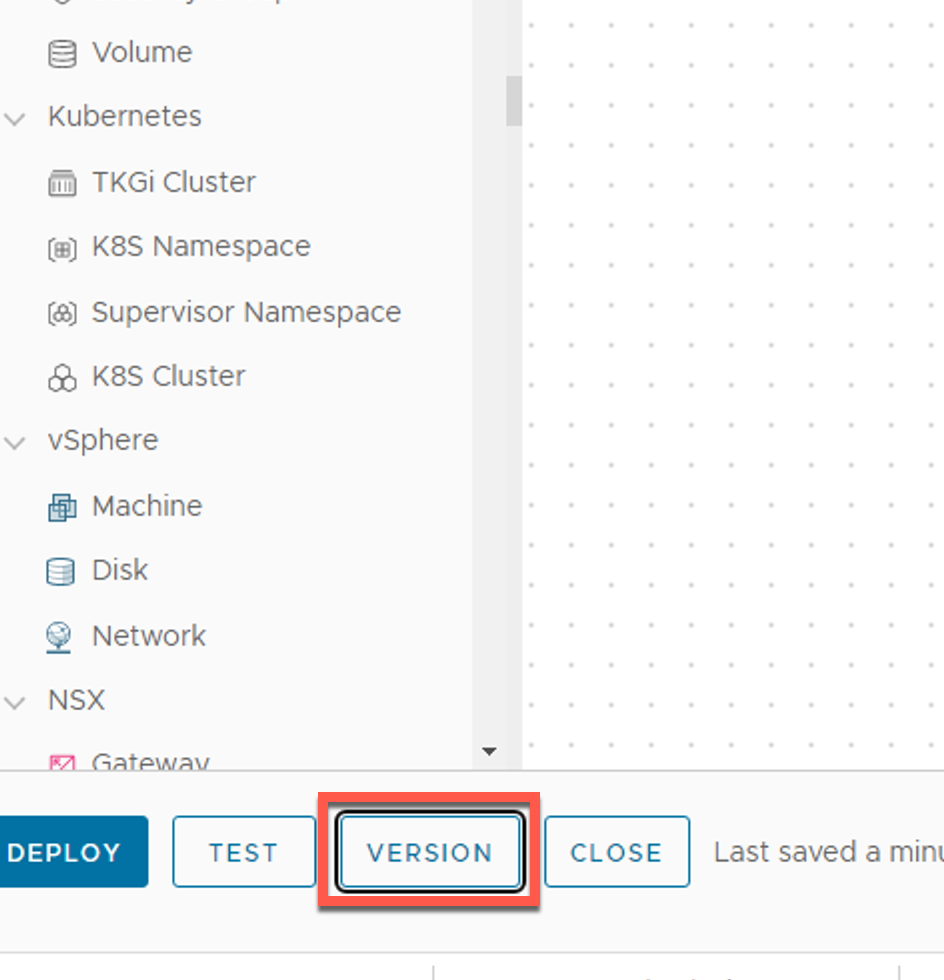
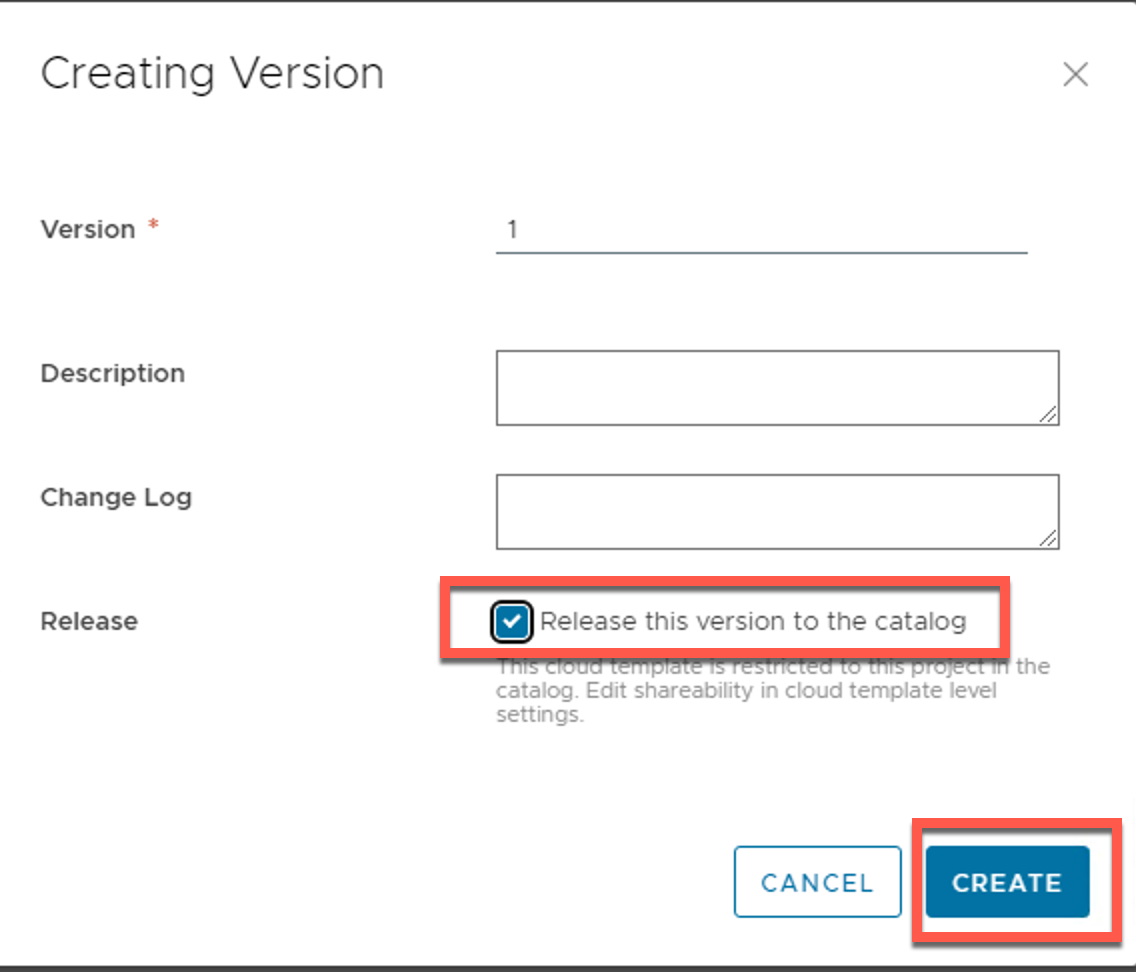
Go to VERSION
Publish the Cloud Template
Mark to release and click CREATE
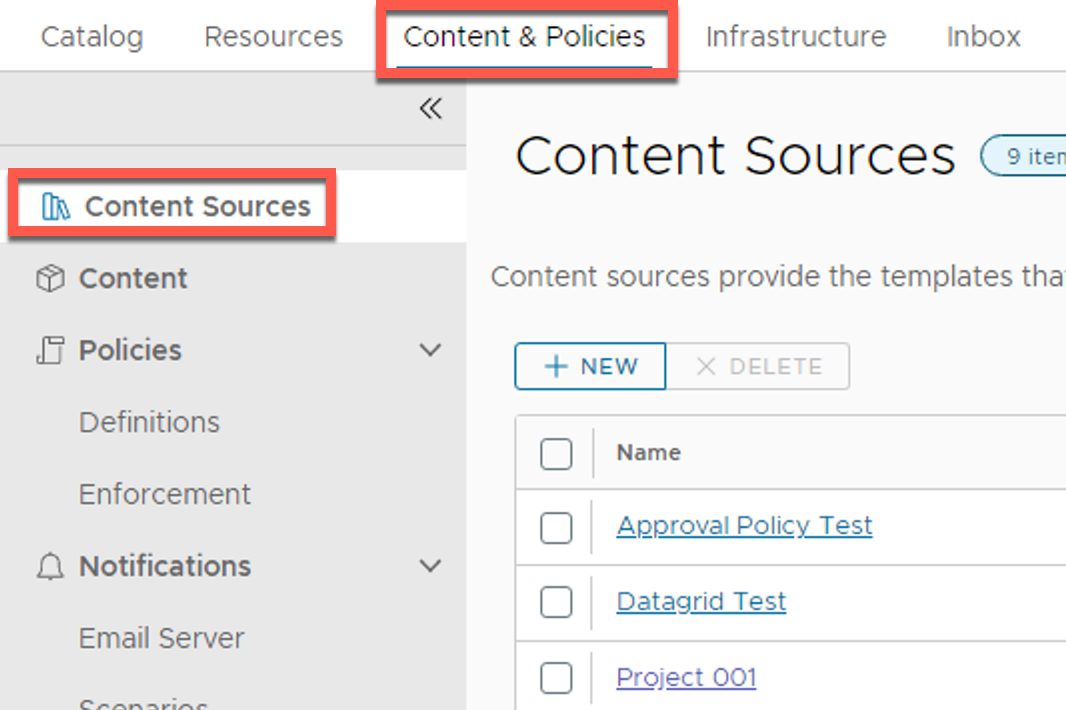
Add the Cloud Template to a Content Source
Go to Service Broker. Navigate to Content & Policies -> Content Sources
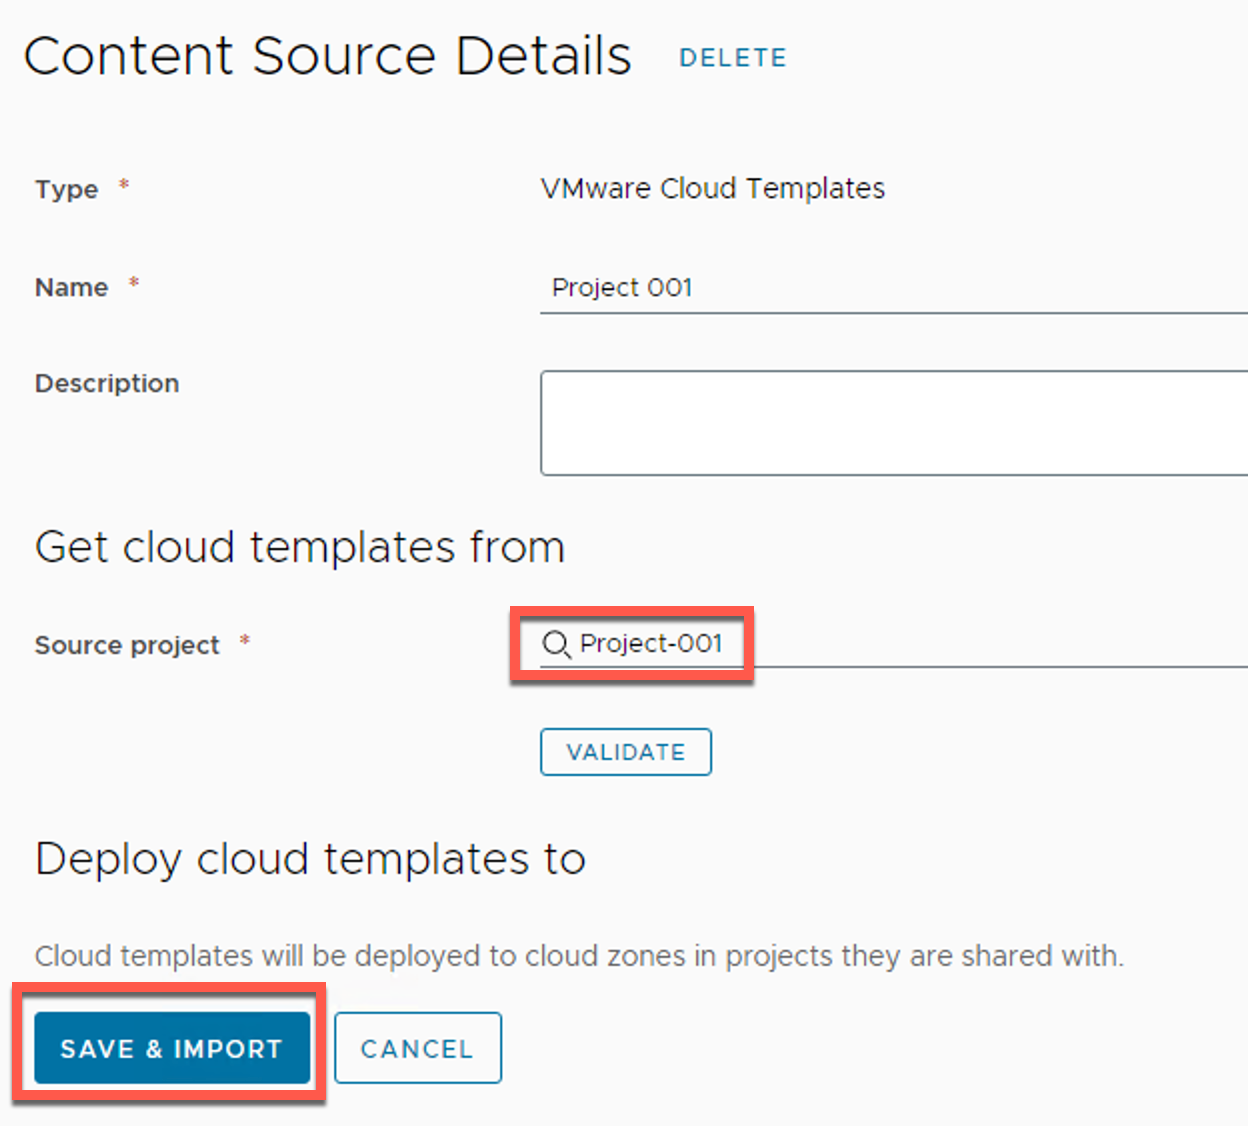
Select an existing or create a new Content Source. I used an existing (Project 001)
Click SAVE & IMPORT
Navigate to Policies -> Definitions
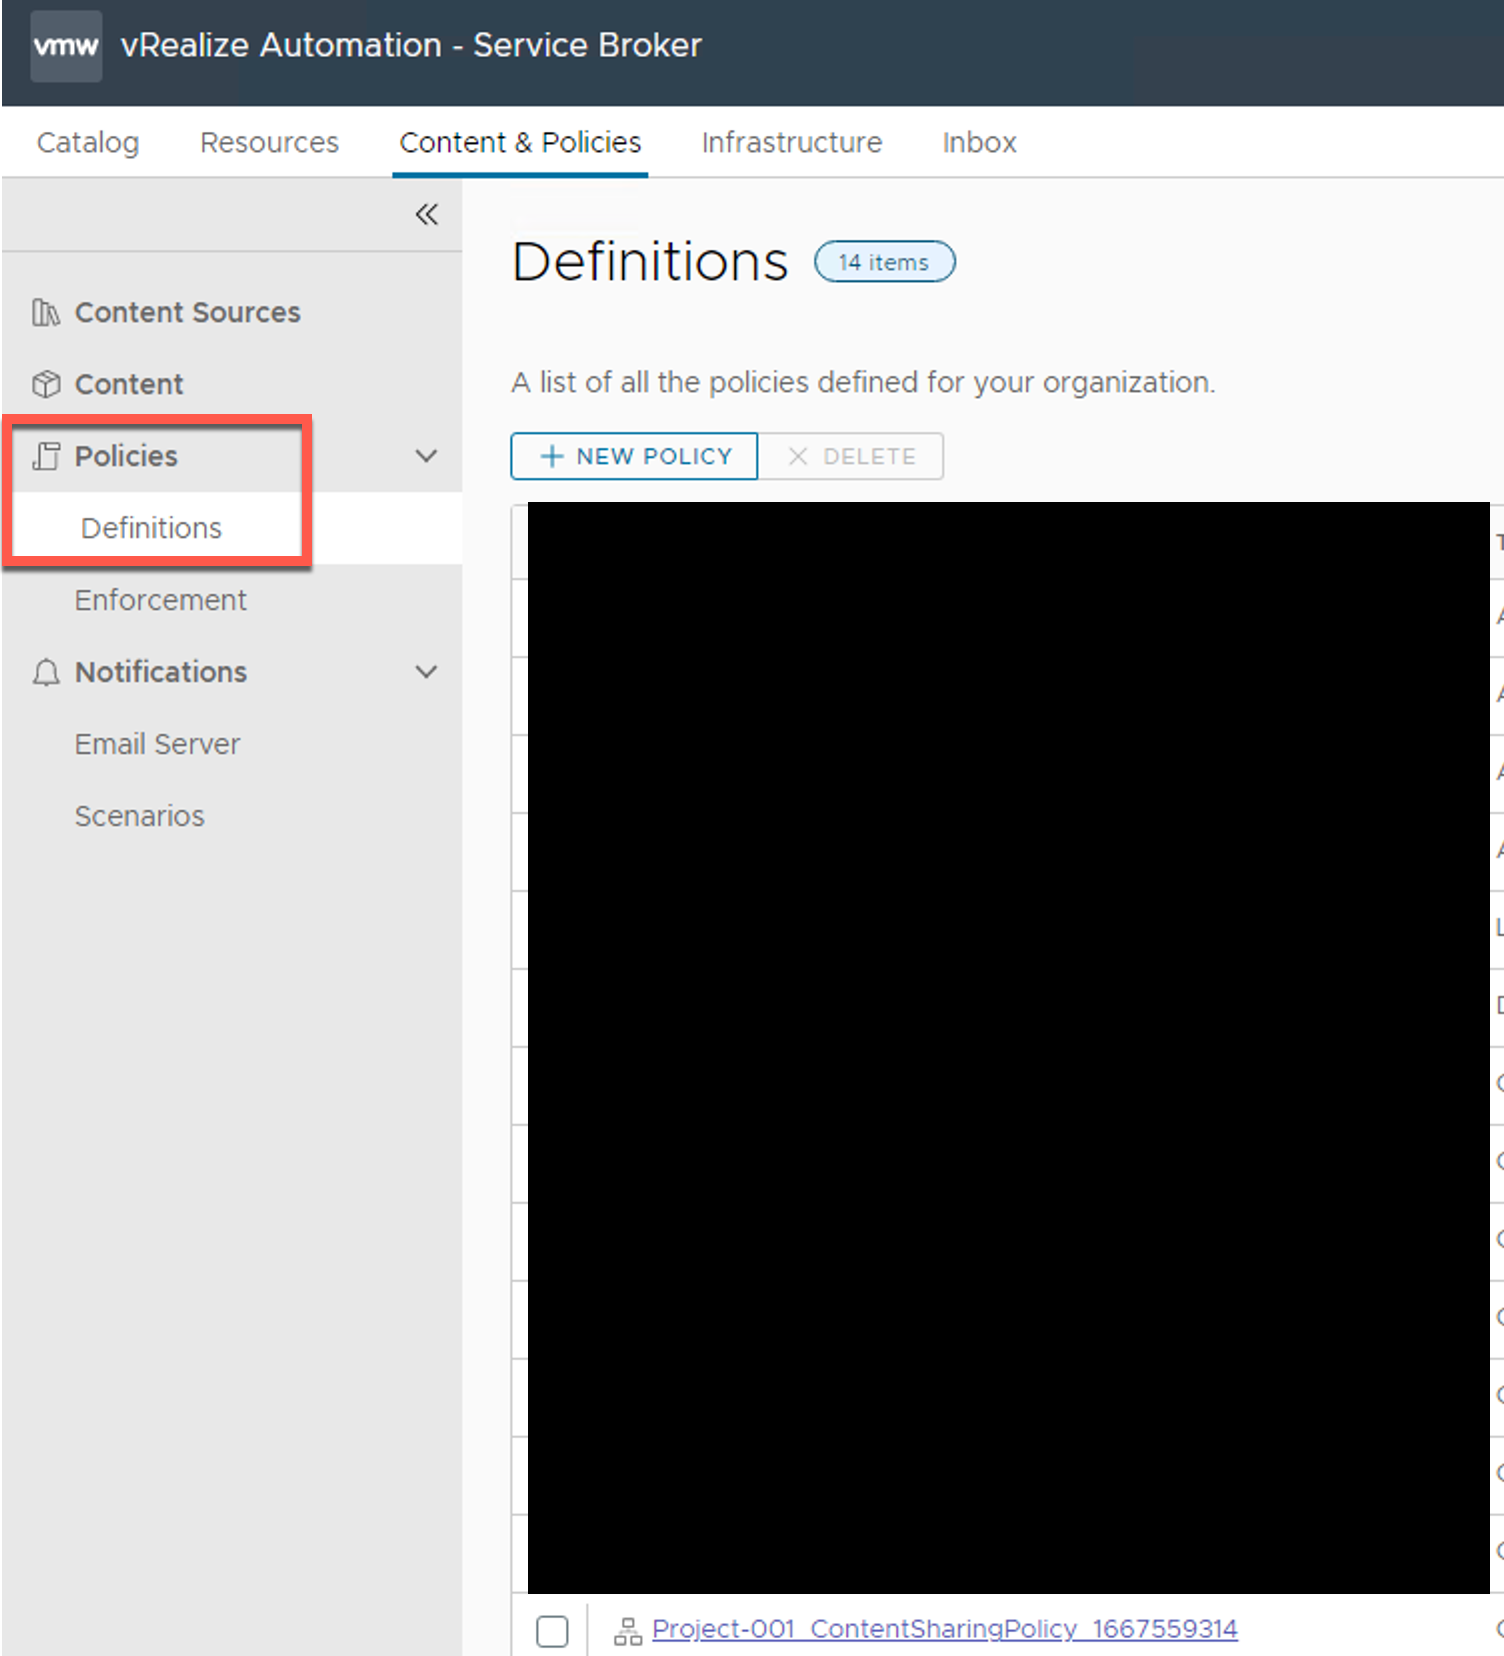
Add the Cloud Template to a Content Sharing
Create a new Definition or select an existing. I used the Project-001 existing definition
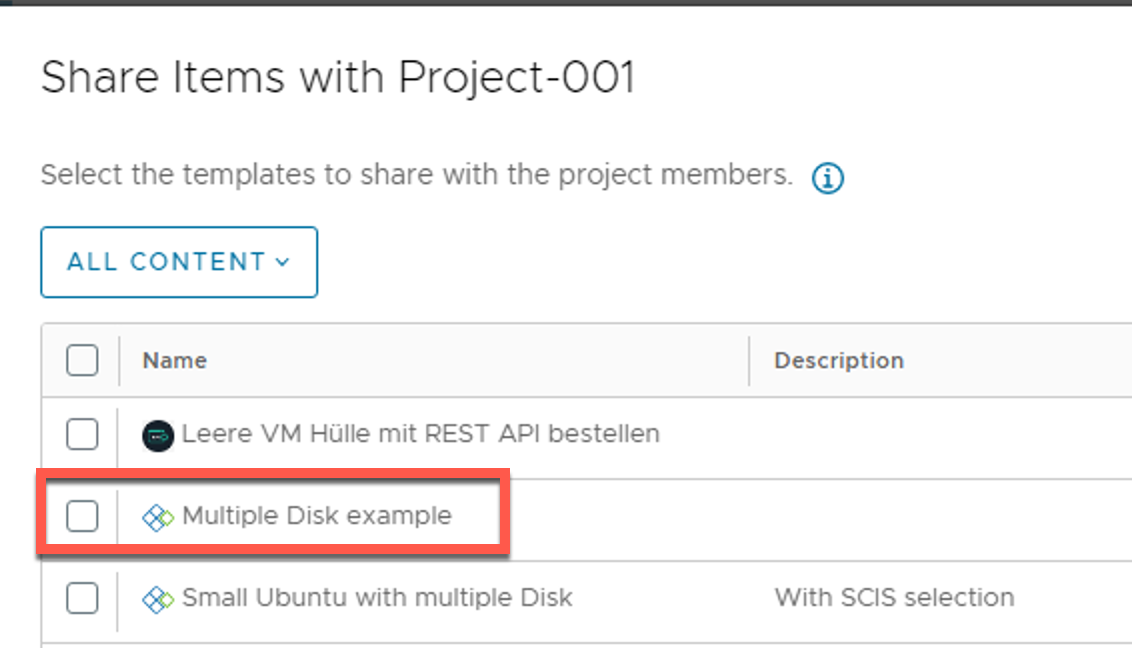
Click on ADD ITEMS
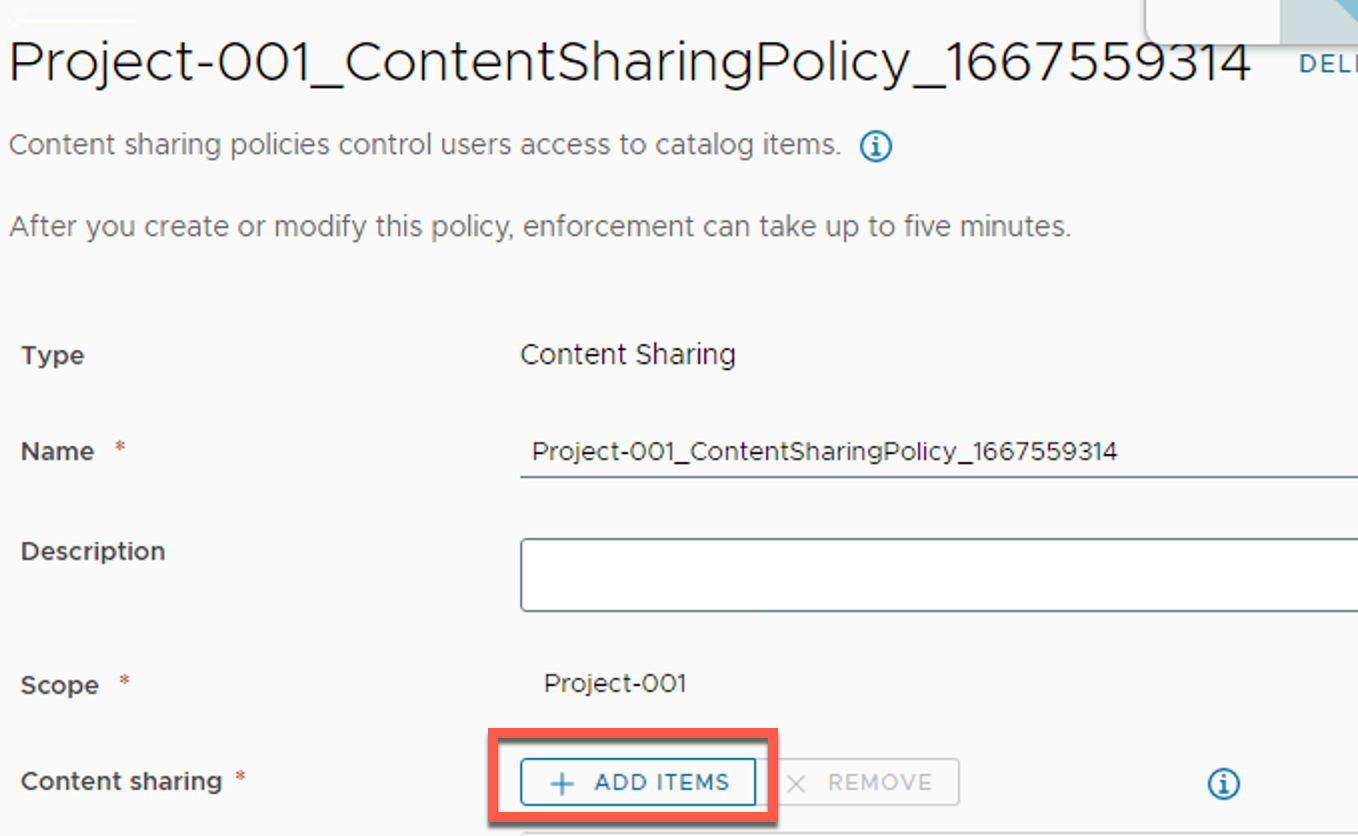
Search for the Multiple Disk example Cloud Template. Select it and add it to the Content Sharing
Enable Custom Forms
Navigate to Content -> Multiple Disk example -> Open Content form
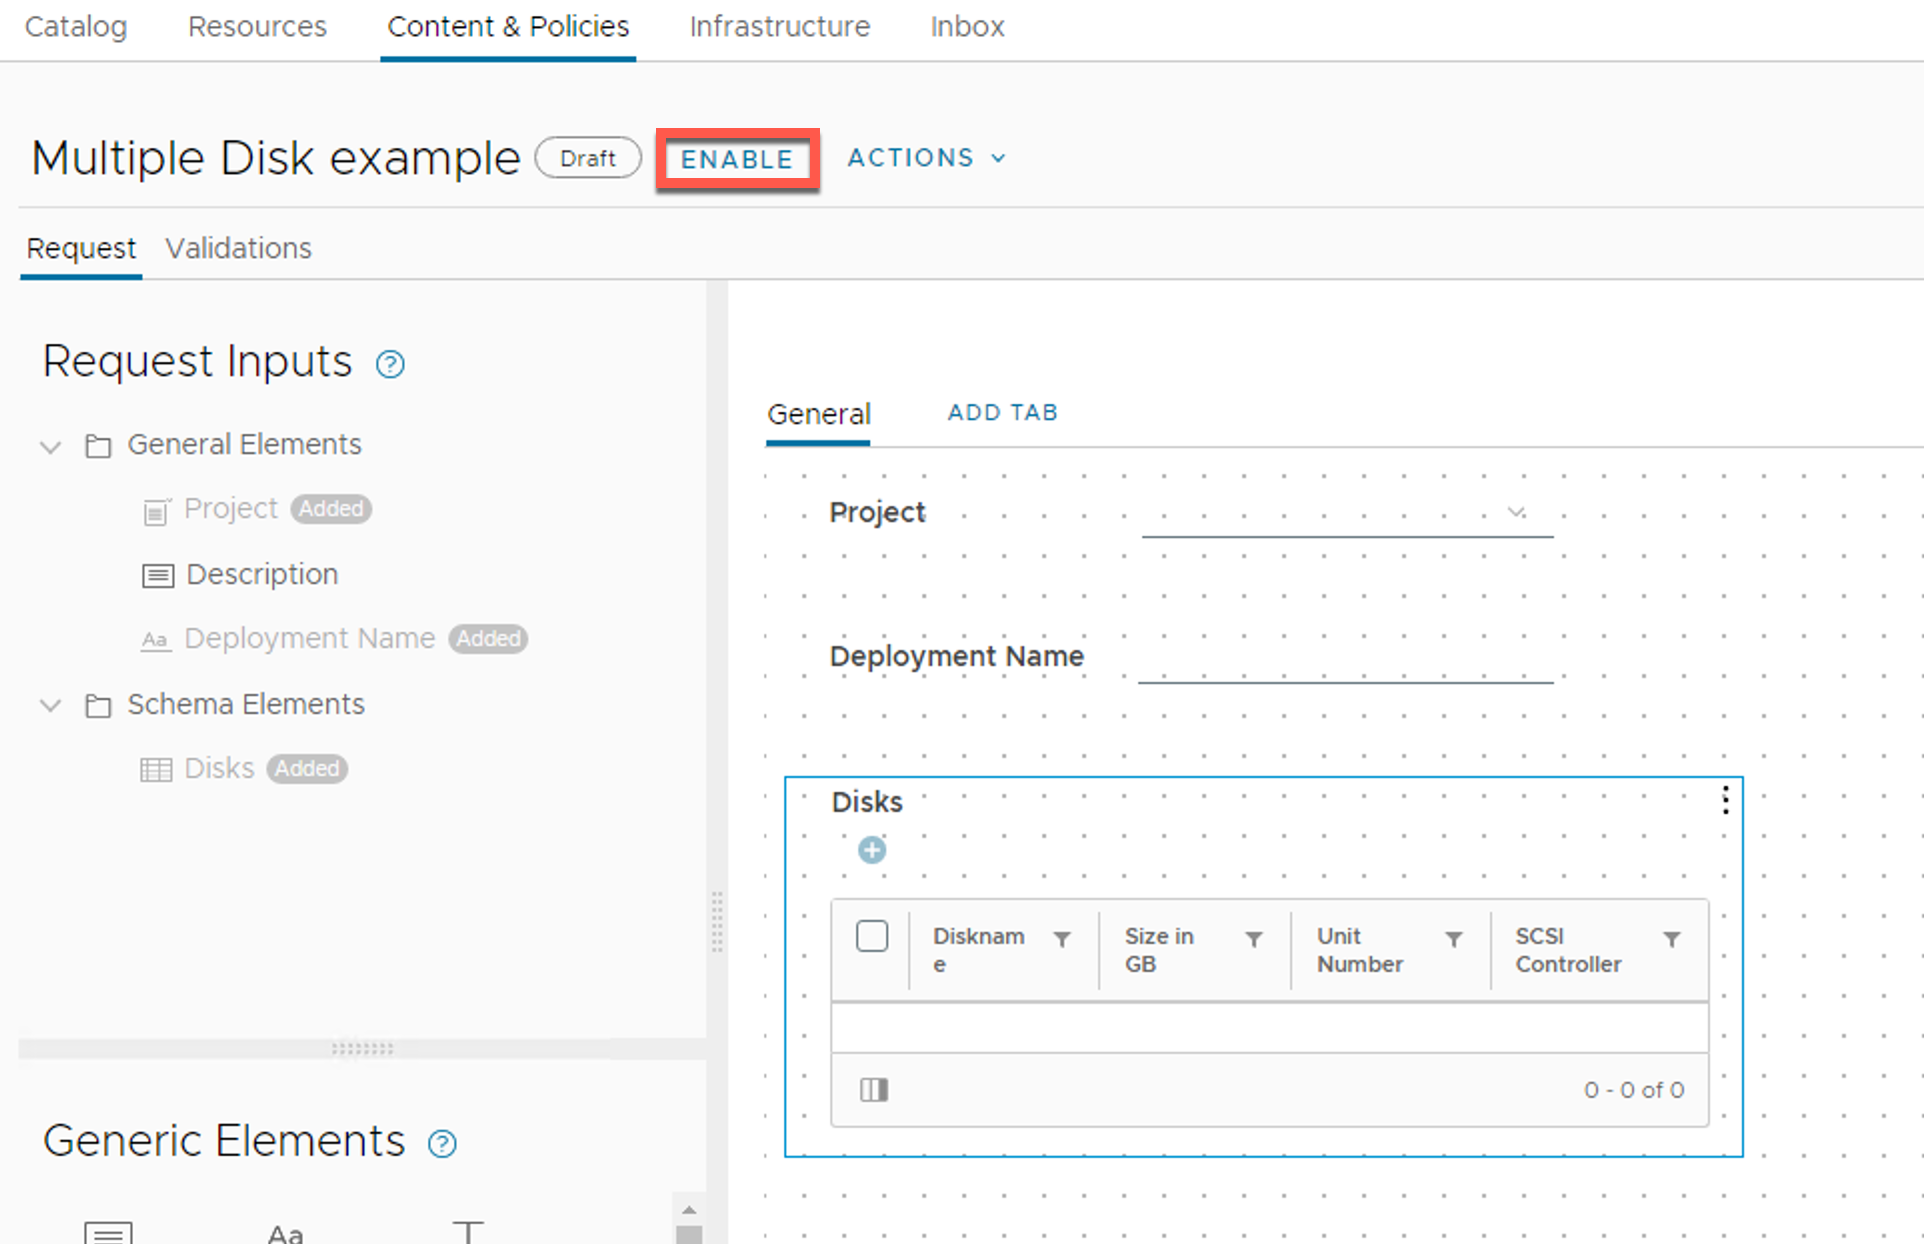
Click on ENABLE. this is an Optional Step.
Click on CREATE
Oder the Multiple Disk Cloud Template from the Catalog
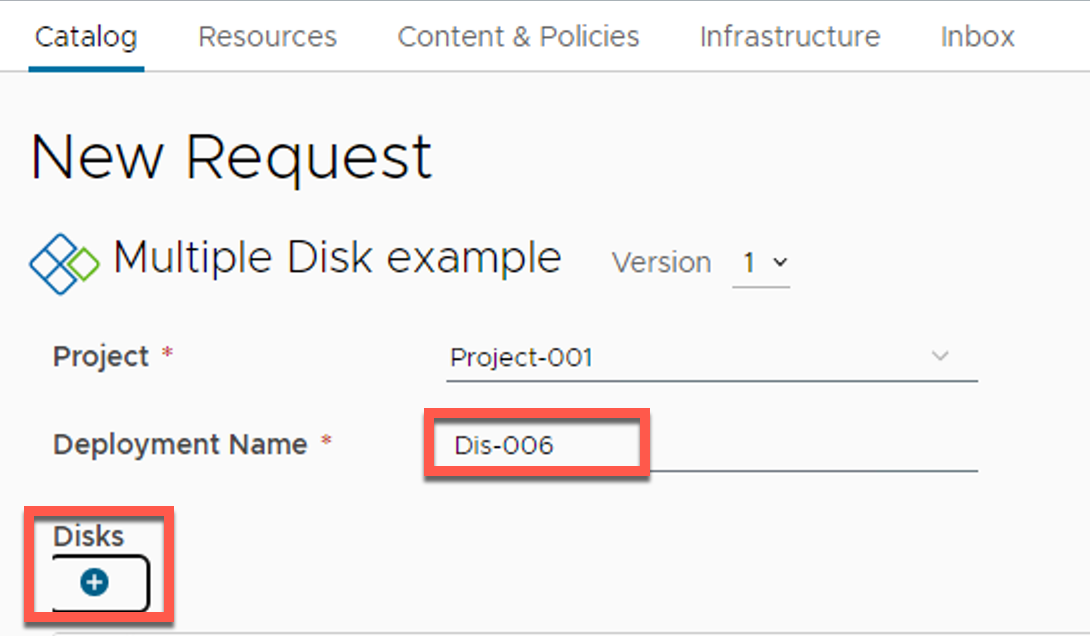
Navigate to Catalog and search for the Multiple Disk example Catalog Item
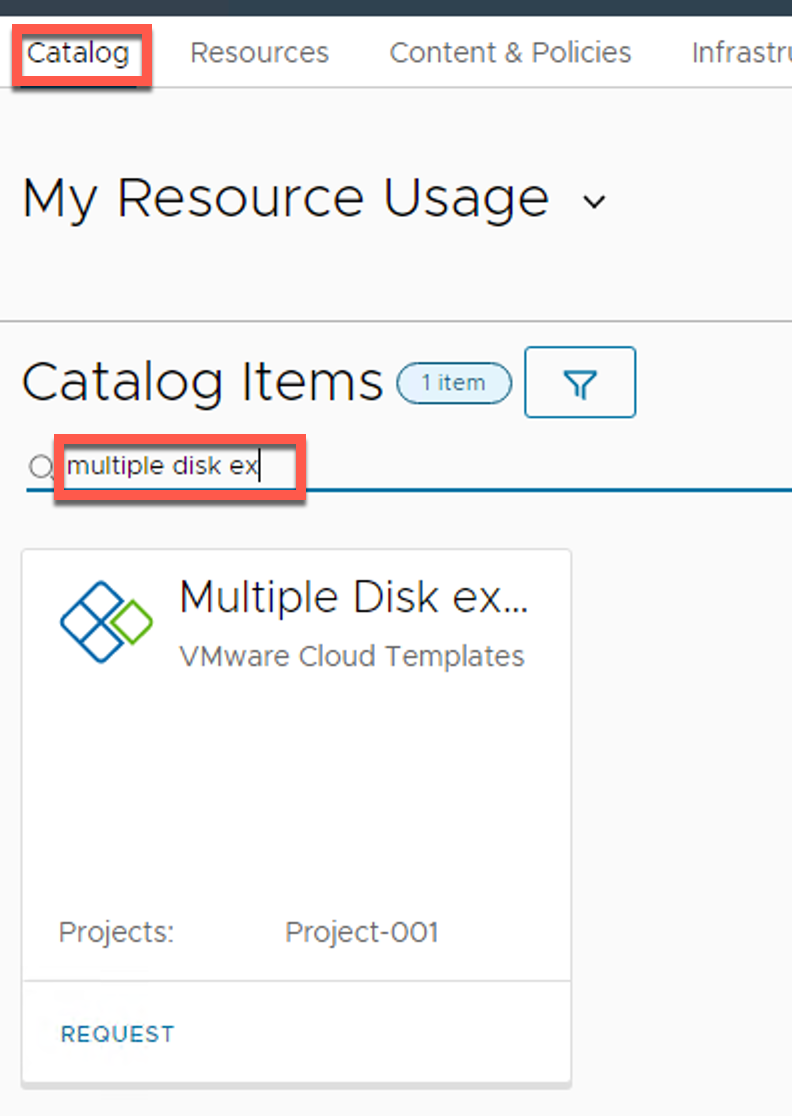
Click on REQUEST
Enter a Name and click on + icon
Add one or more disks
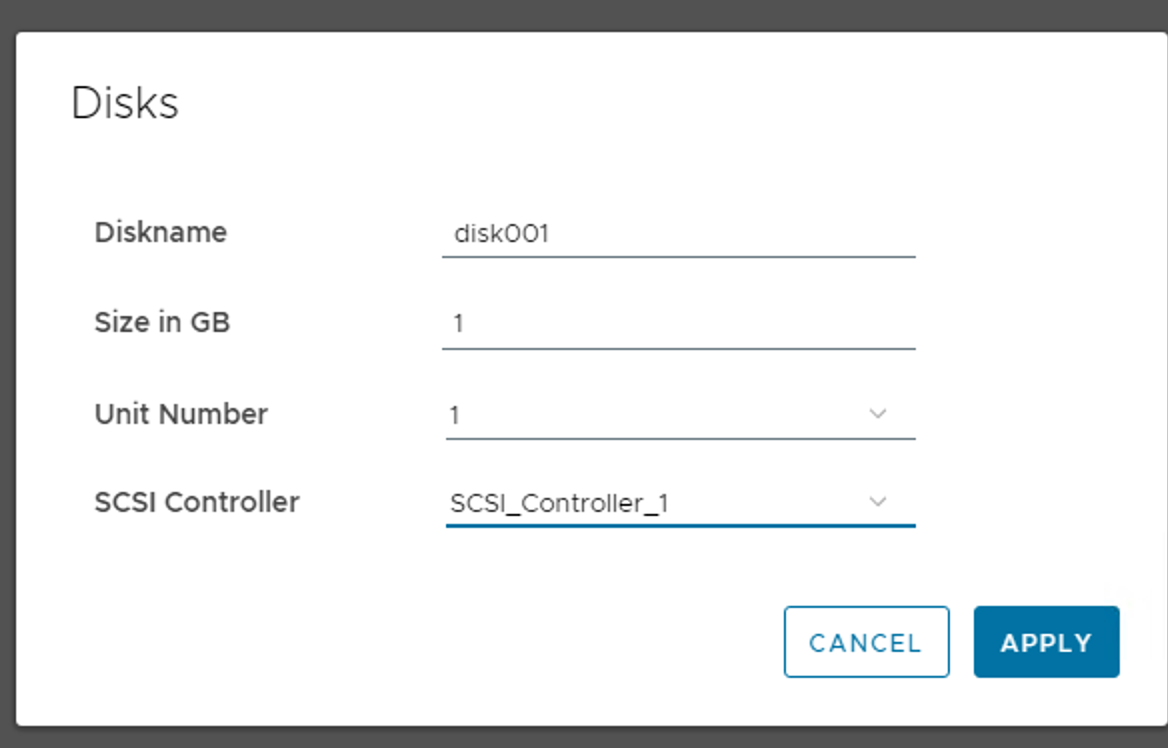
Click on Submit
The VM with the additional disk will be deployed.